Before we go to the template there are couple configuration we need to set up.
Website Configuration Set up :
Step 1. Login to your admin side, navigate to left hand side navigation bar to store management > configuration settings (search for auto) > select the option to options other than ‘disable’
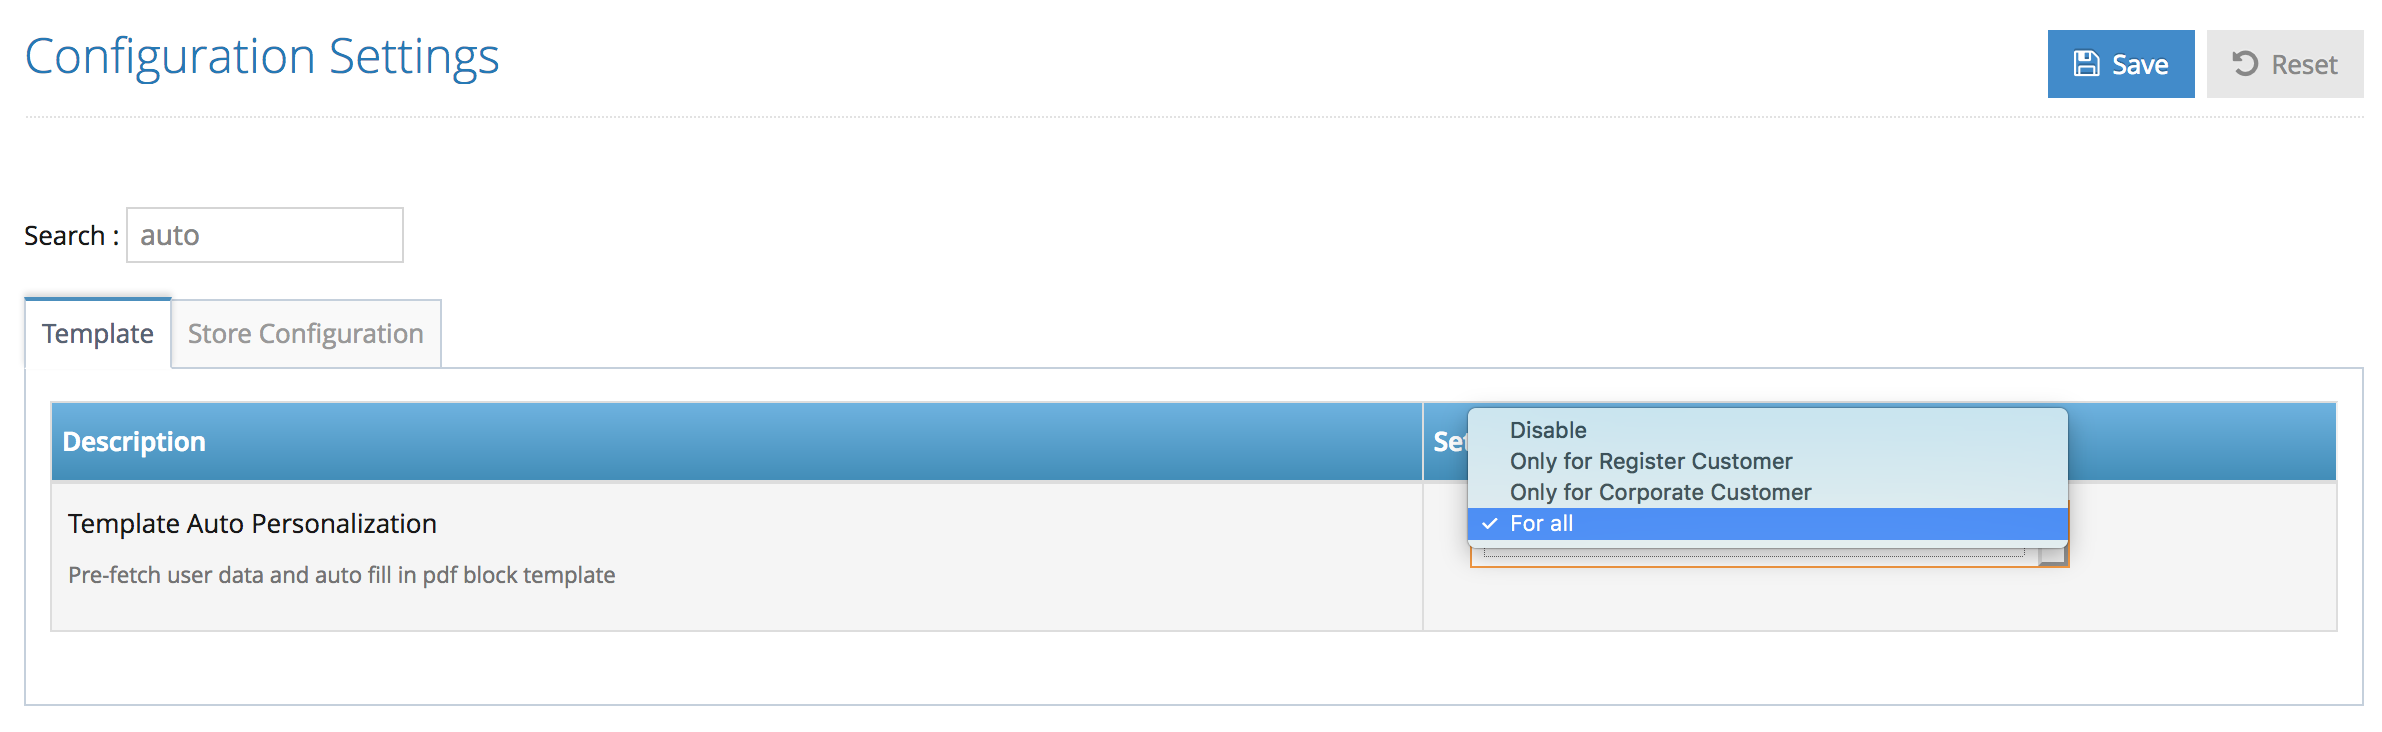
Step 2. Click Save to save the update.
Corporate Set Up:
Step 1. Login to your admin side, navigate to left hand side navigation bar corporate management > corporate (select the corporate) > Action > Edit
Step 2. Inside this page under the settings section you can find the corporate profile section where in here you must choose between optional or mandatory. Selecting ‘no’ will not make this feature works. Click Save to save the update.
please see the difference between optional and mandatory here >
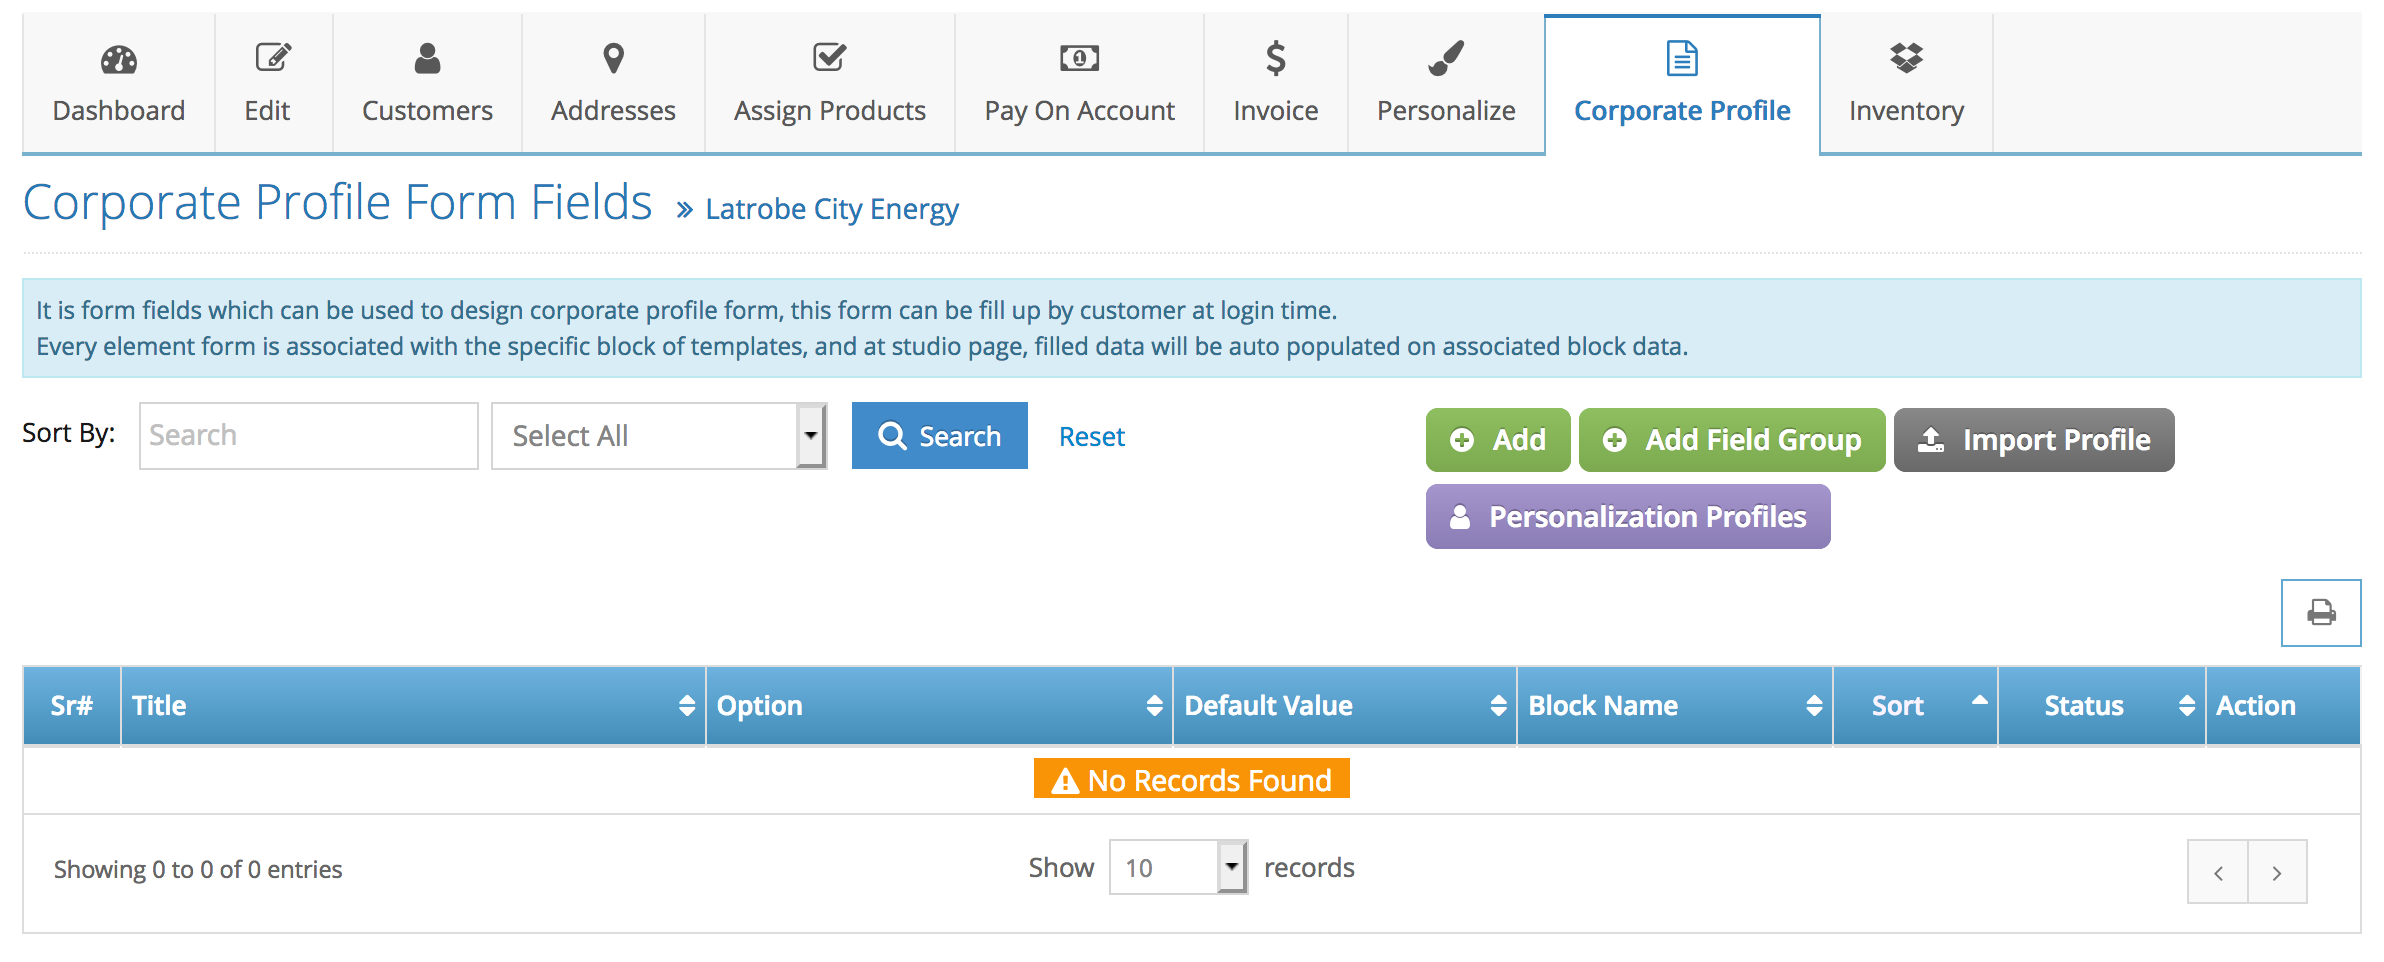
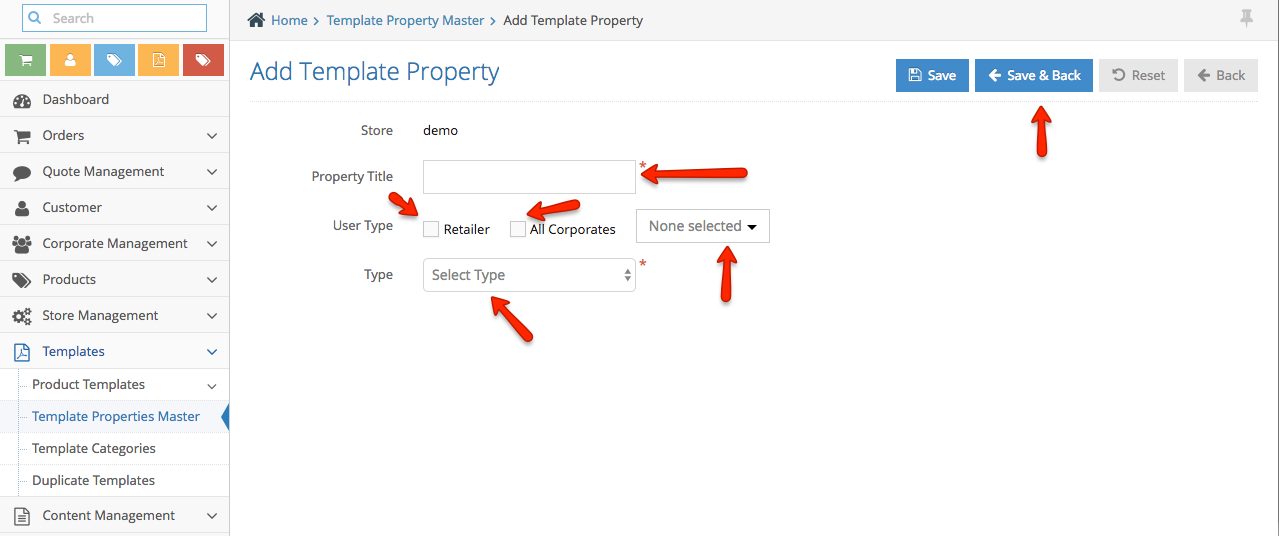
Step 3. Navigate to the corporate top tool bar Corporate Profile > Click Add to create a new corporate profile.
Step 4. Adding new corporate profile, first you need to add the details (please see the explanation for each field here>) :
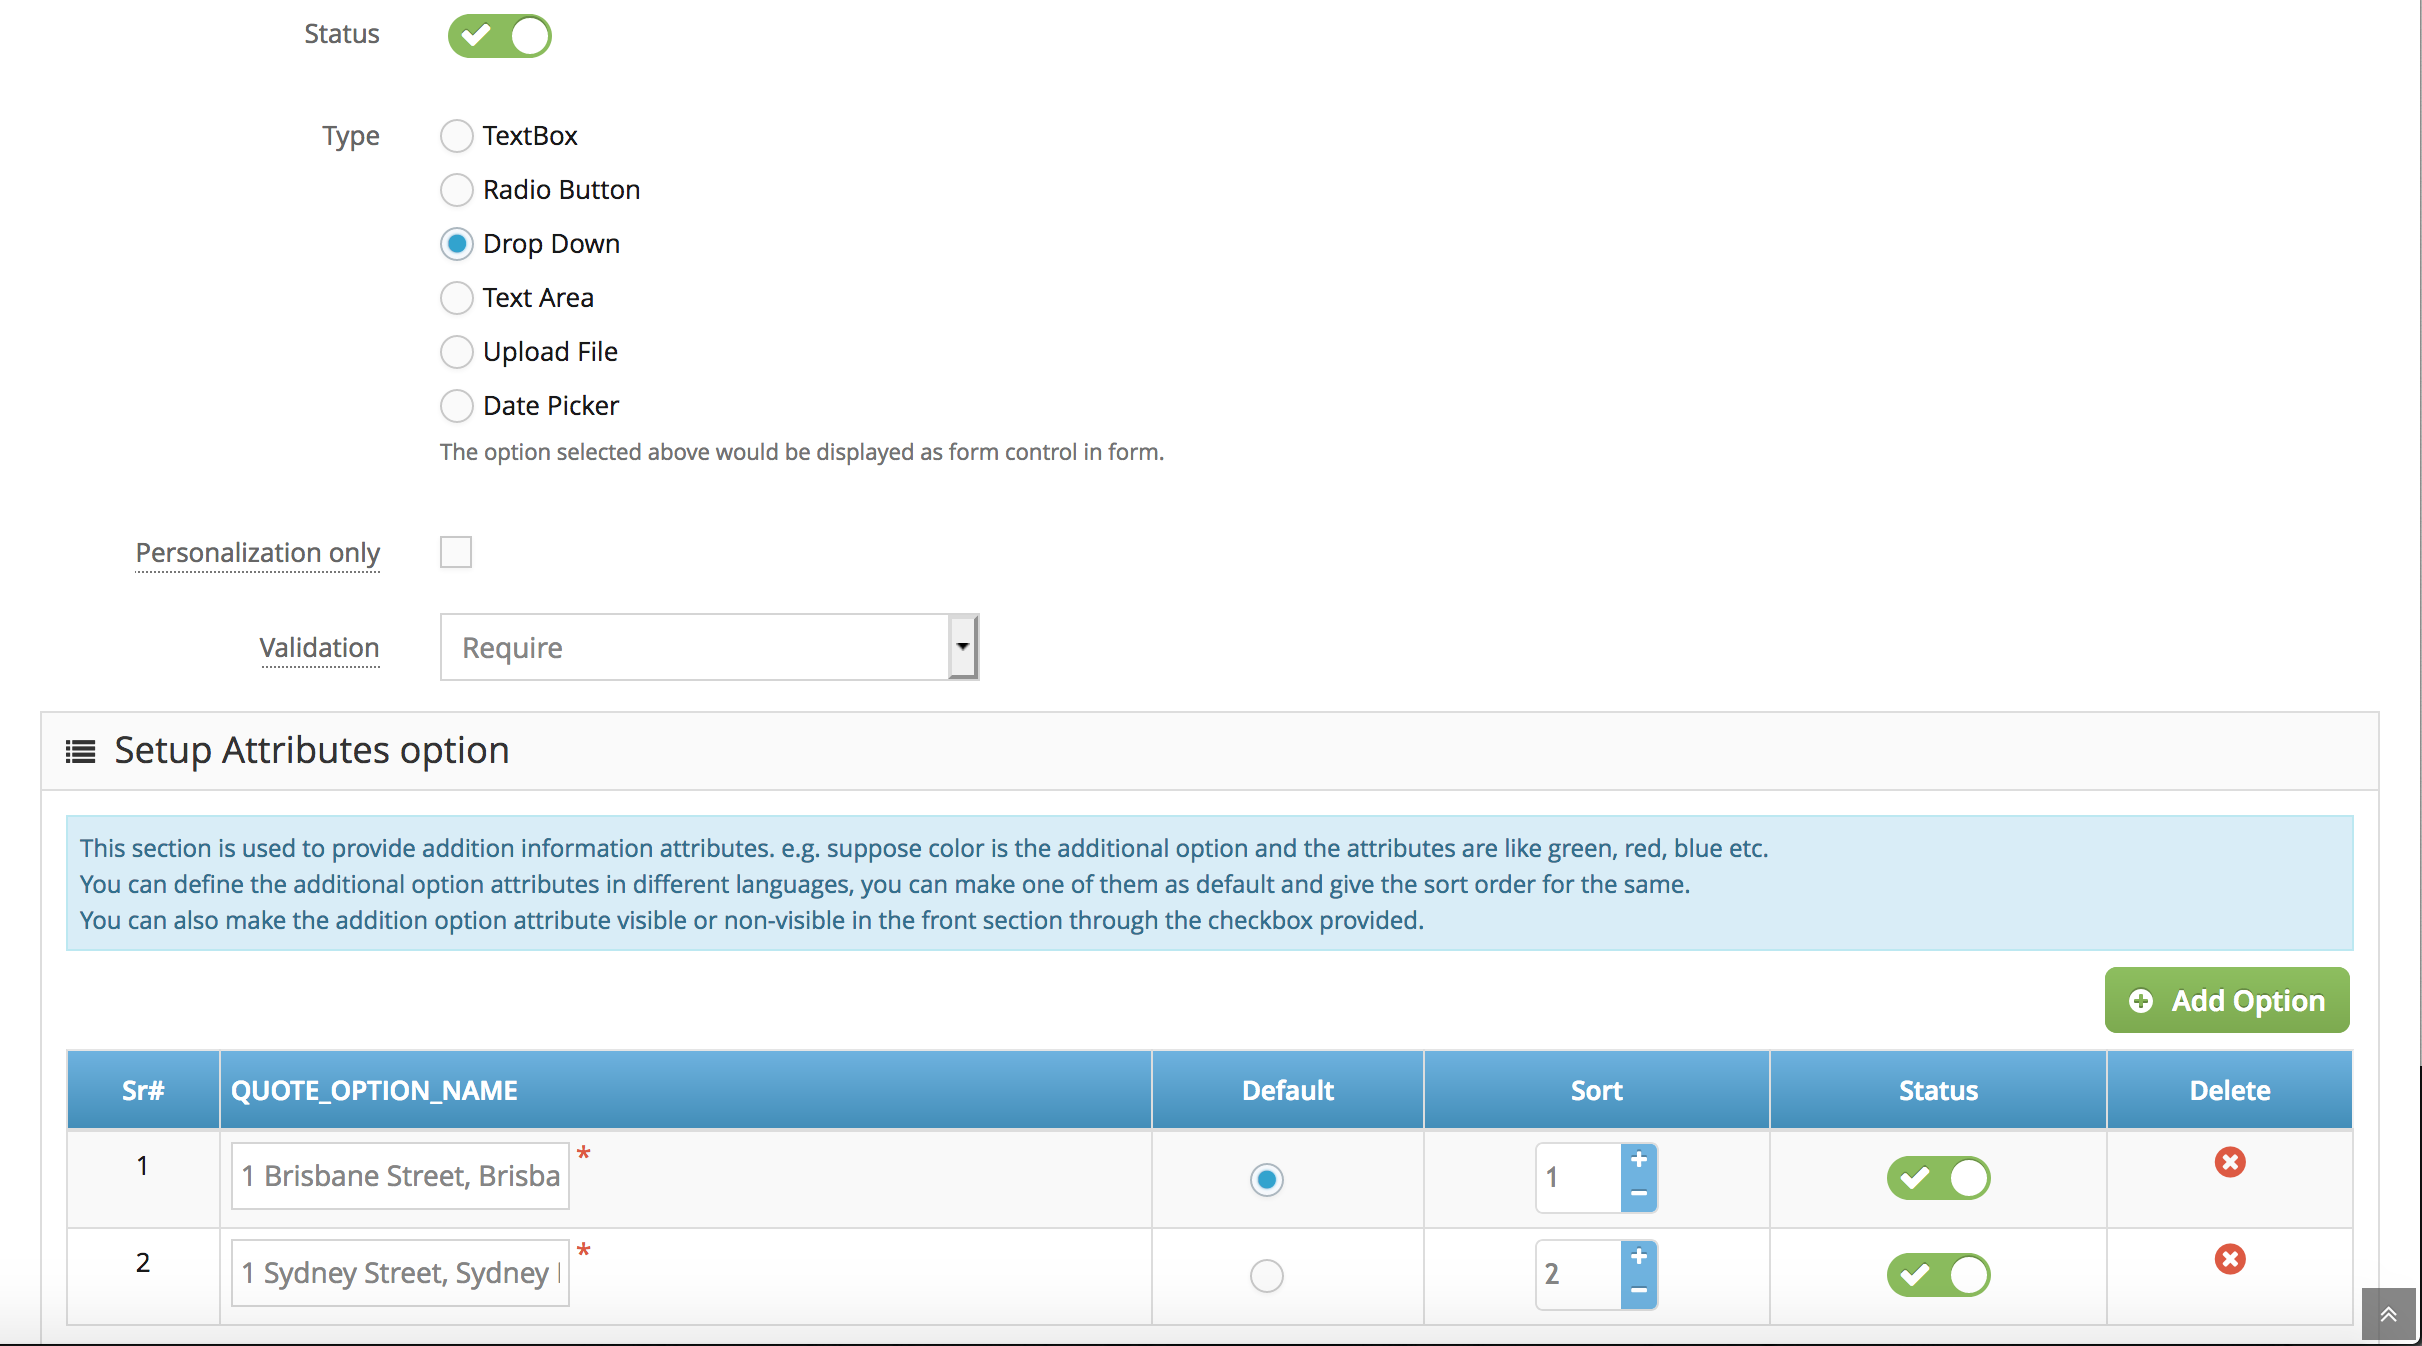
the most important part in here is you must tick the ‘personalization only’ field – this settings will triggers the automation of pre-filled
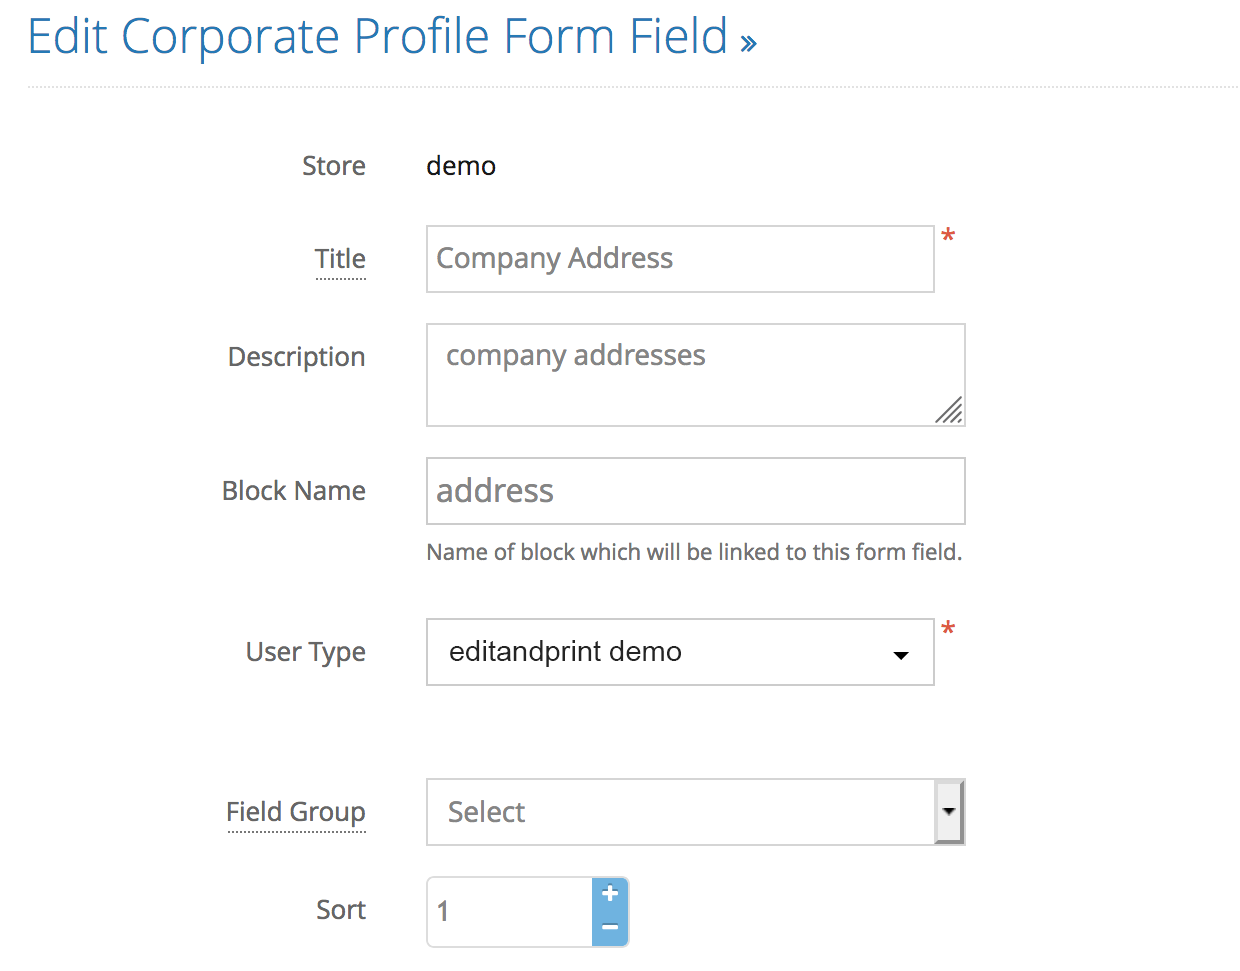
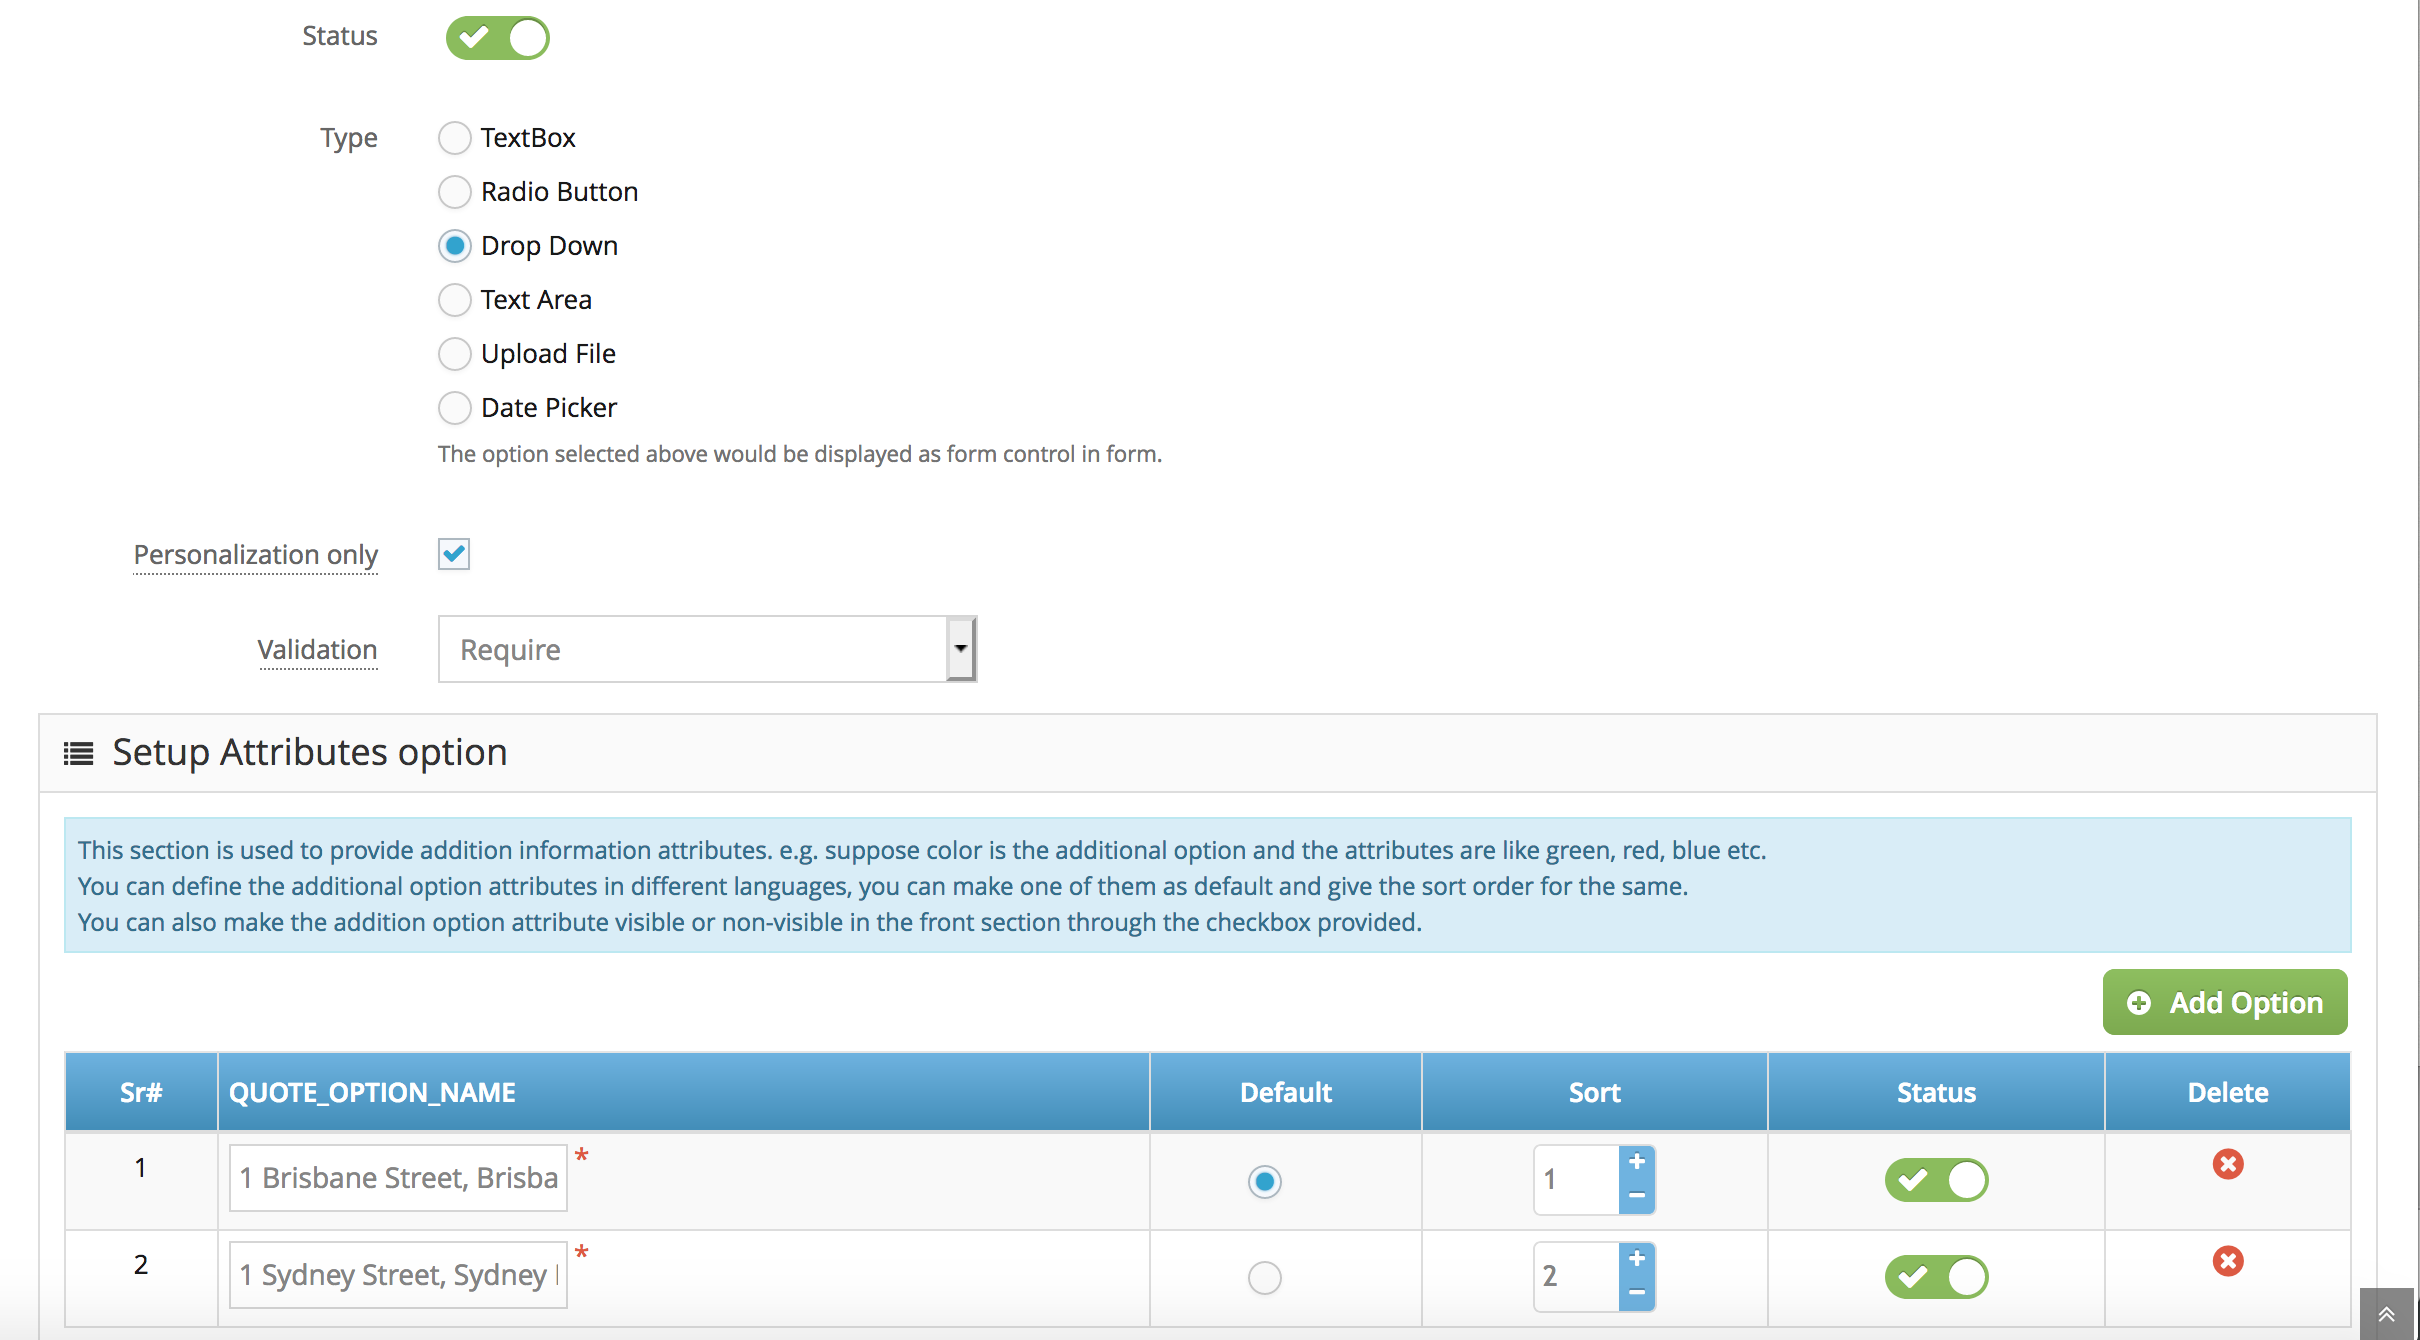
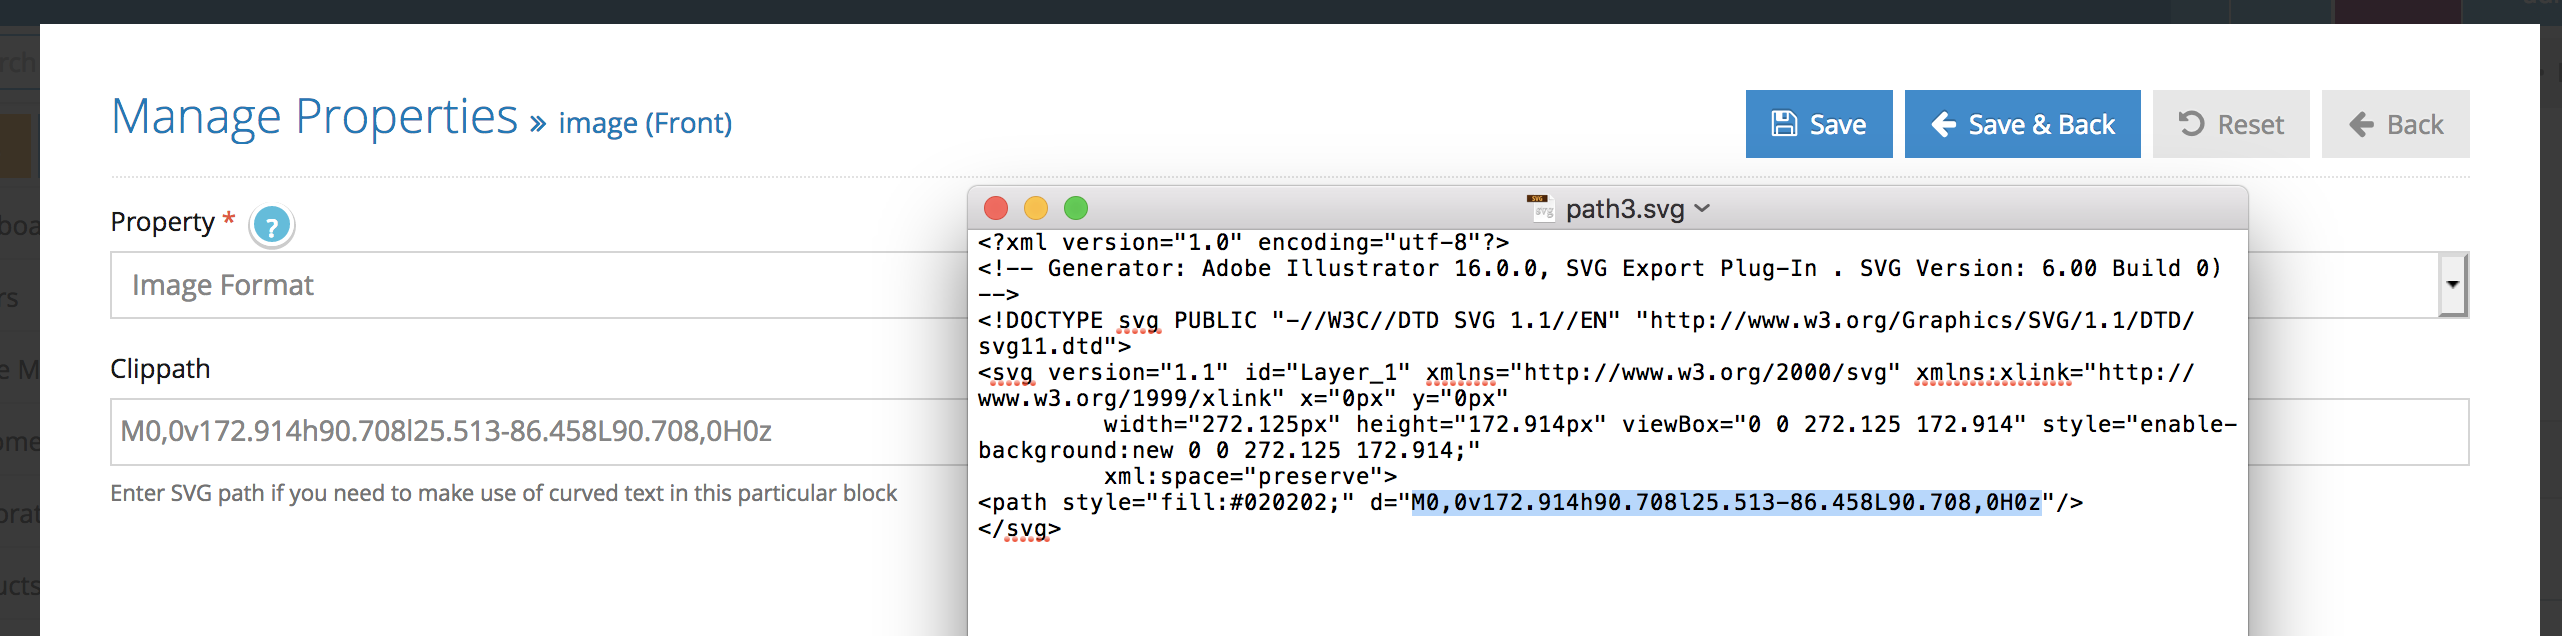
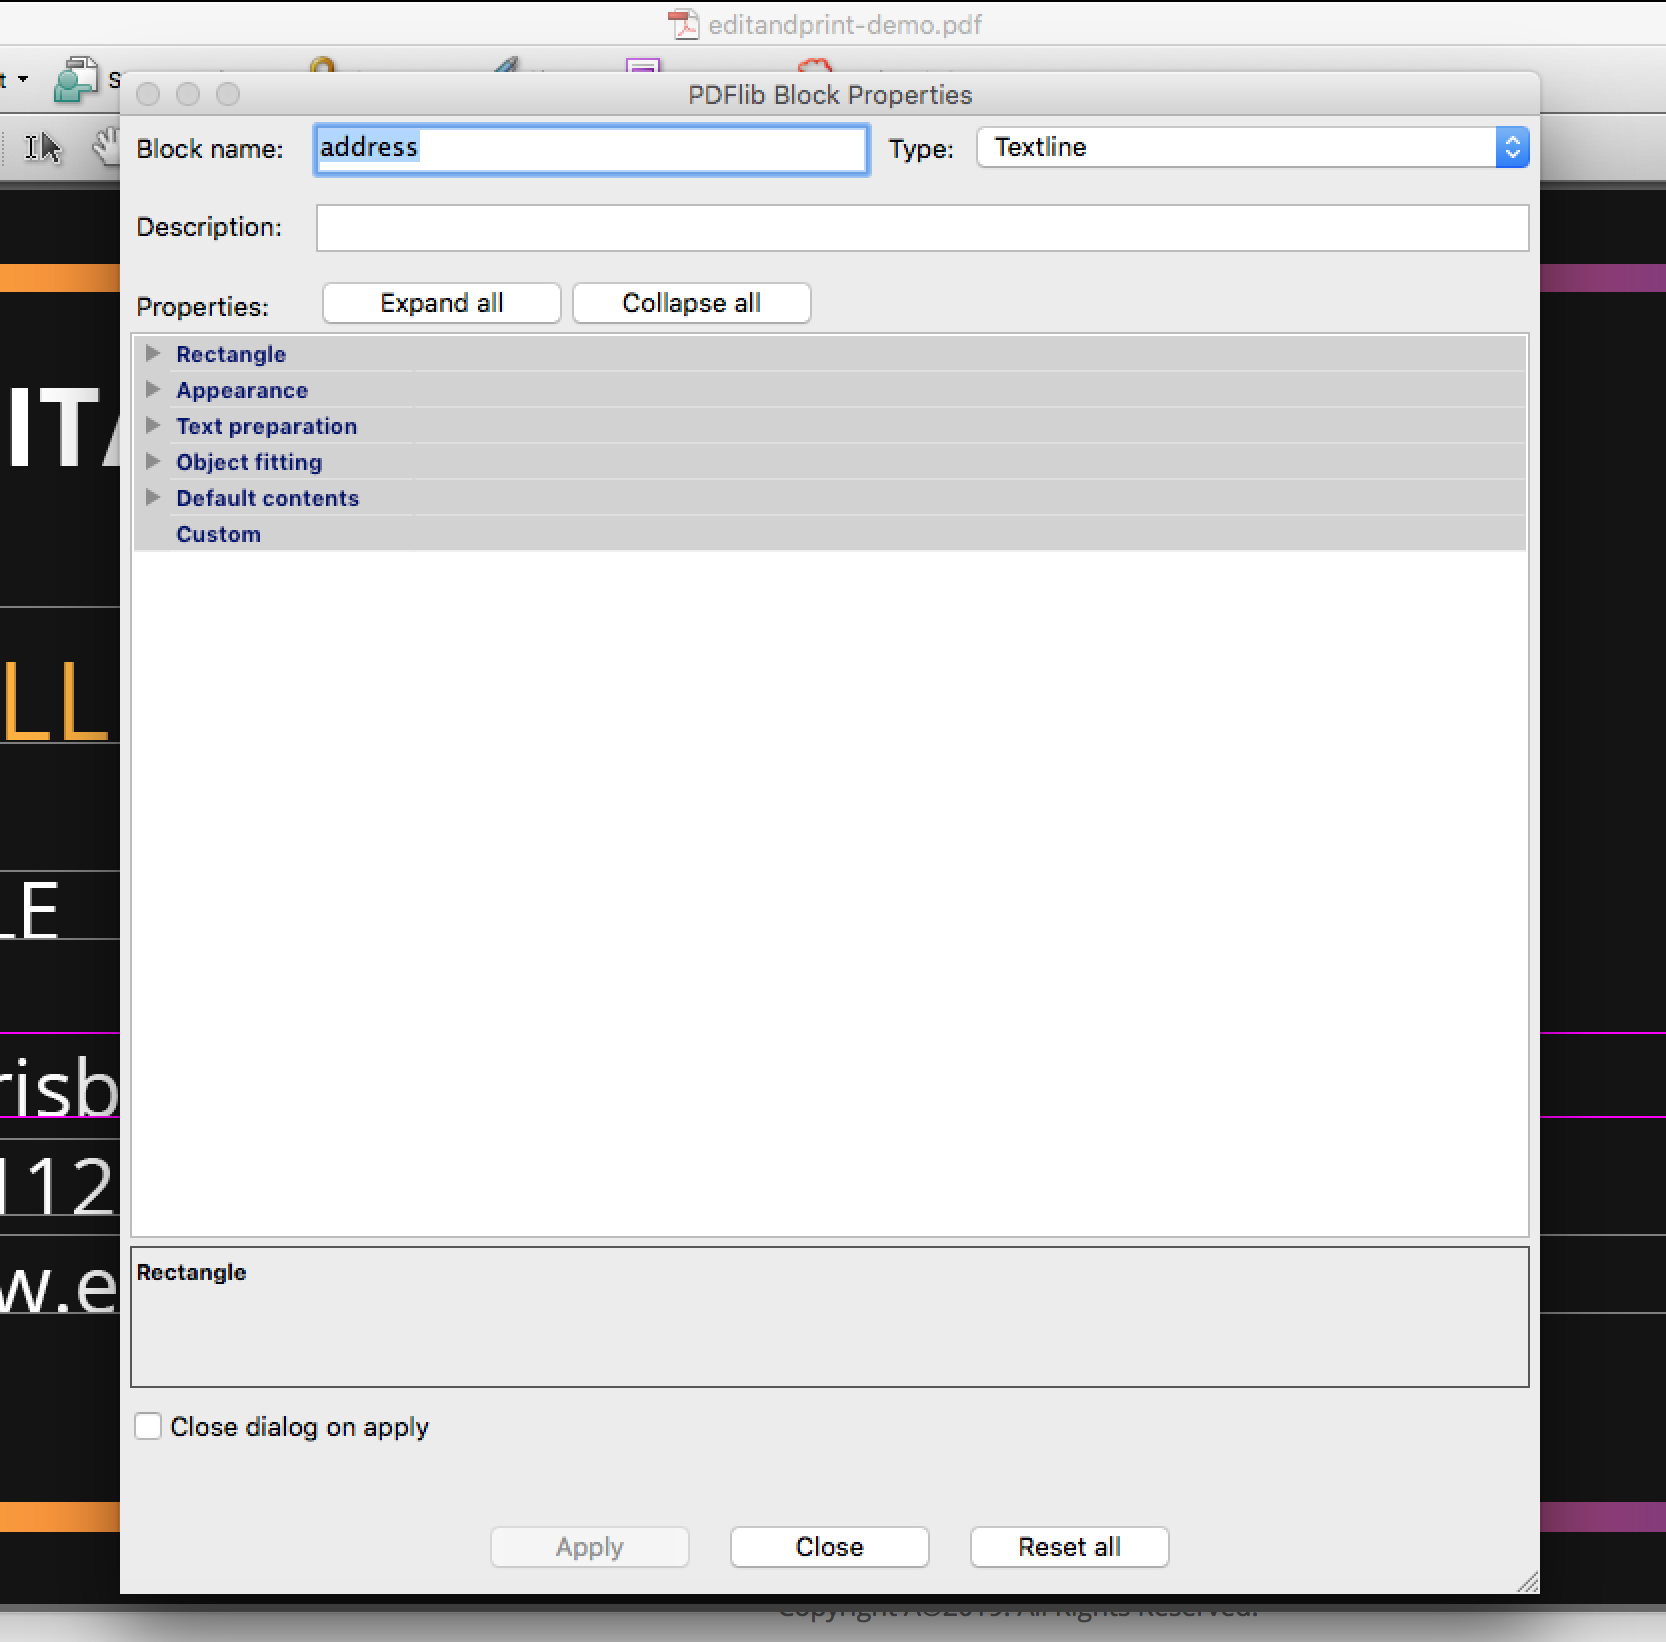
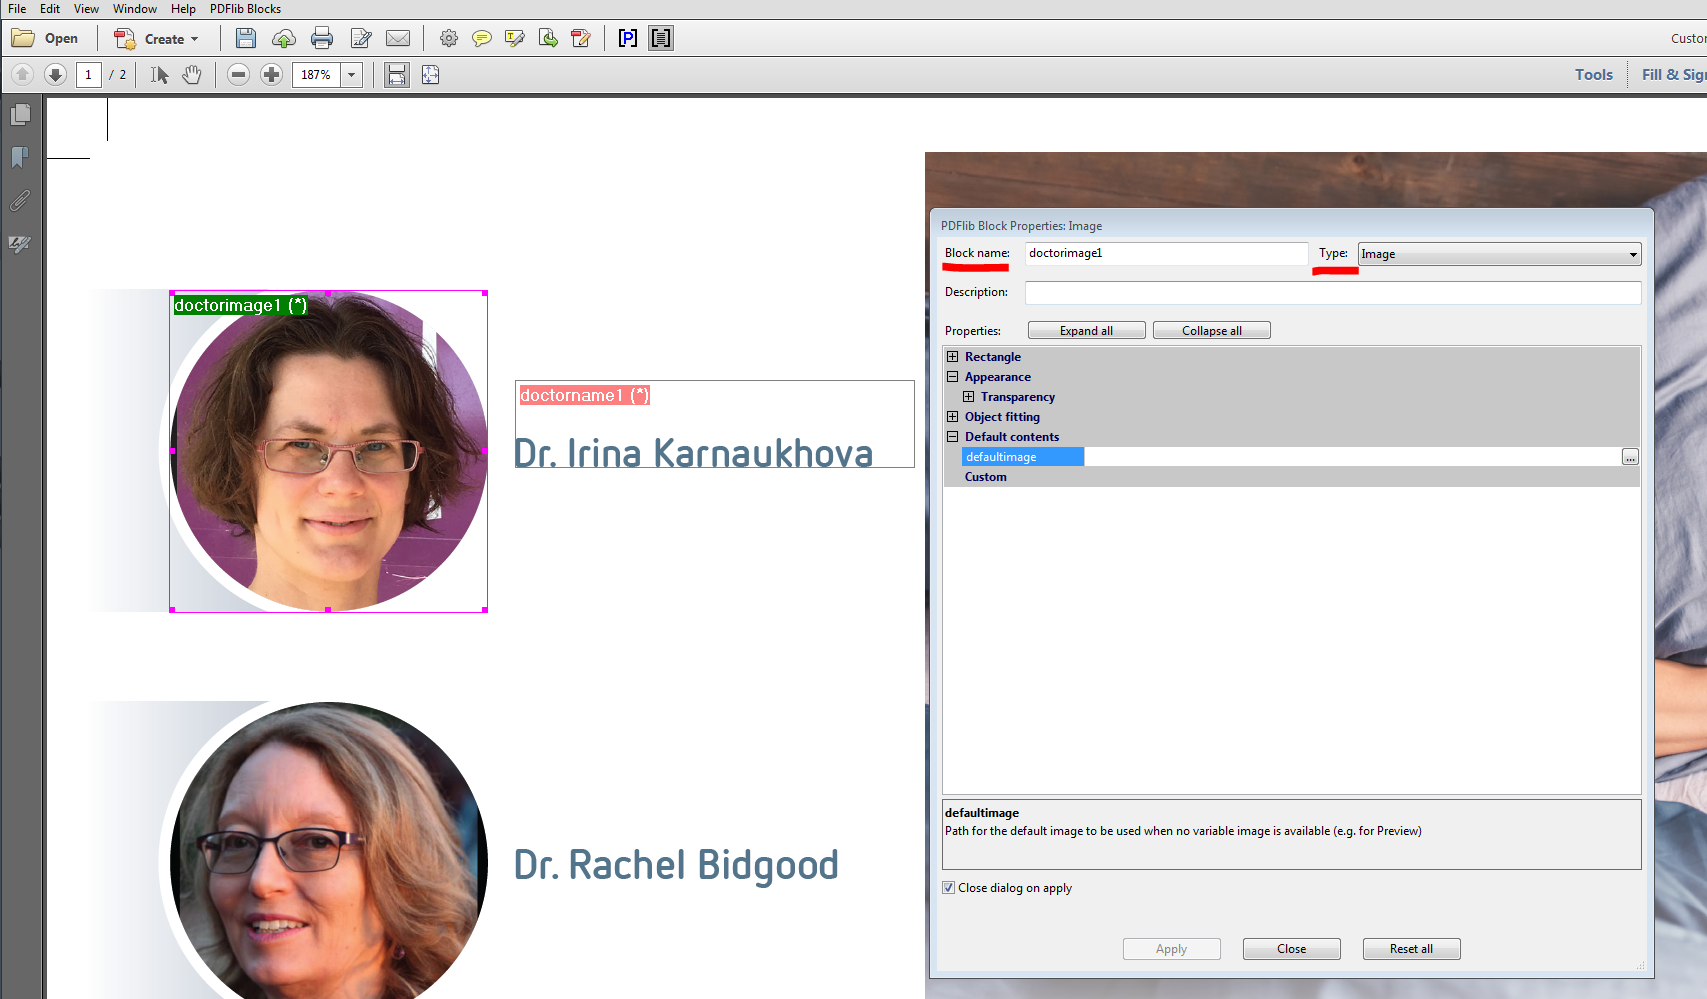
Block Name (Important) : this will be the reference that linking the system with the PDF block. It is really important to make the block name to be exactly the same as the block name used in the PDF block template. It is also really important to not using any symbols, special character, space, or numbers – it is best to make it as simple as possible (i.e. name, address,phone, mobile, etc..)
Tips : select ‘drop down’ for the corporate profile type for the best option for pre-filled profile template option. Once selected dropdown you need to set the attribute option at the very bottom.
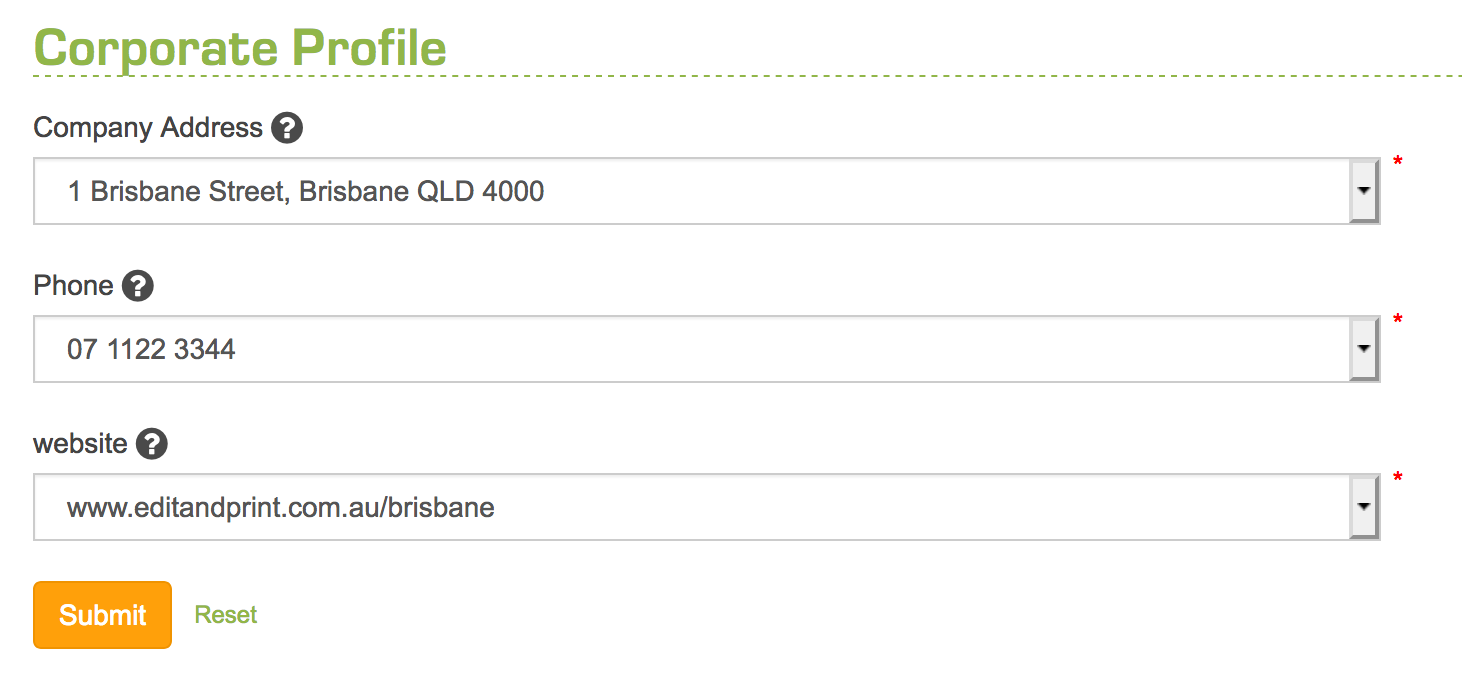
Example case here : – we are trying to create an option for a template where the customers can select the state they’re from and the system will automatically pre-filled the state profile they have selected (address, phone, & website). The above example is the first corporate profile for company address and the attribute option for this is Brisbane address and Sydney address.
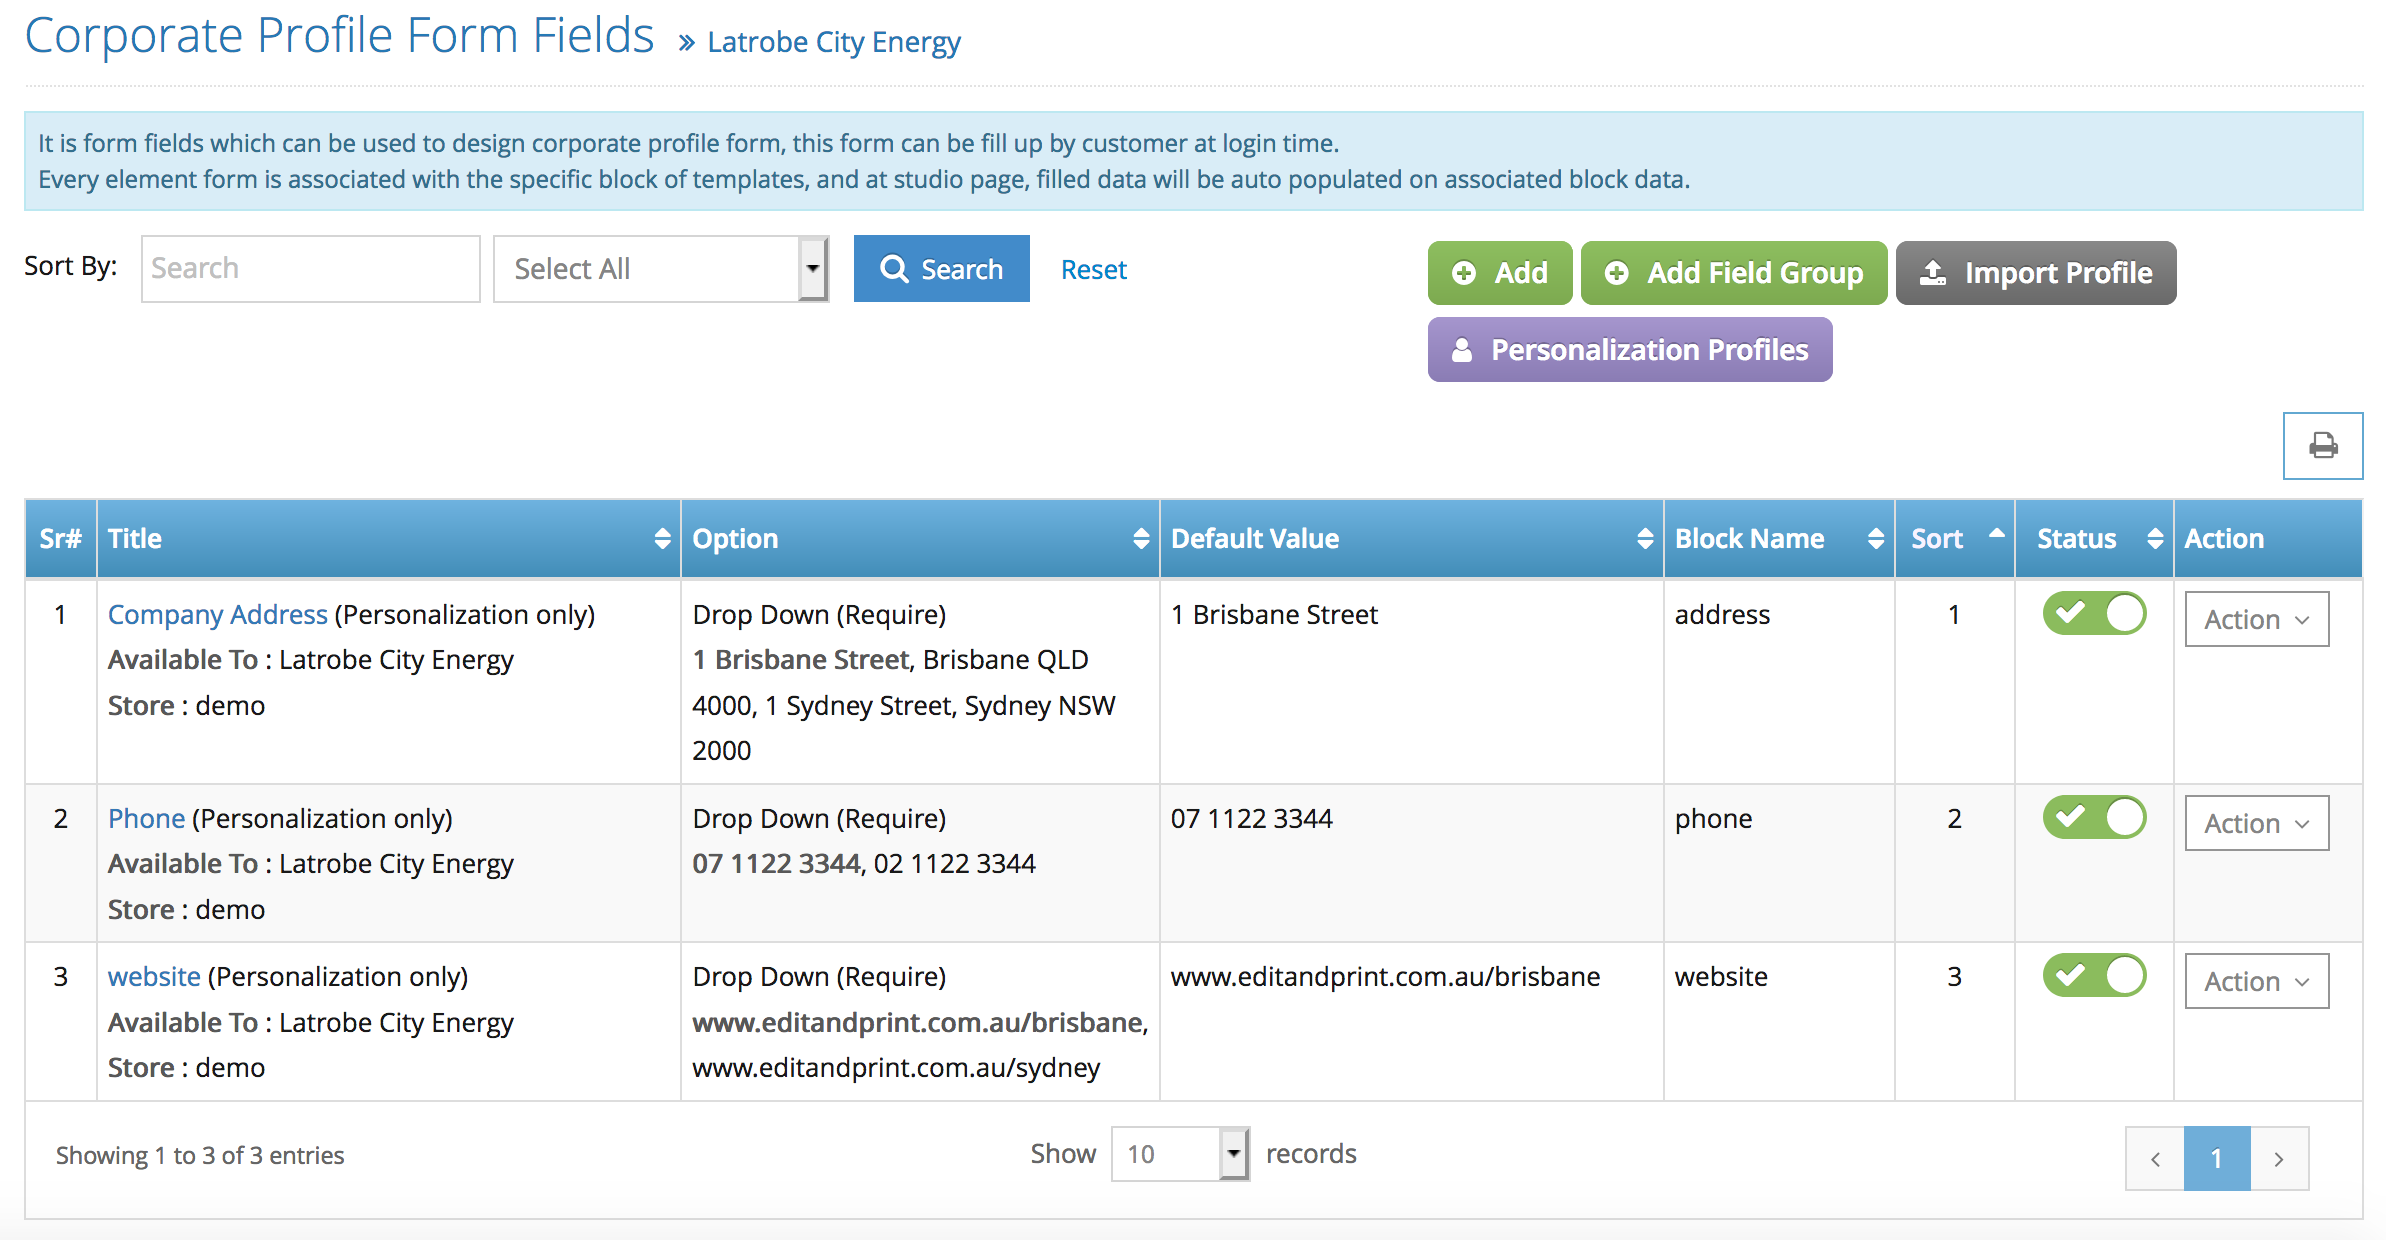
Once you have completed the first one, you can create another one if you do have multiple corporate profile. Below example is when the template have 3 corporate profile (company address, phone and website)
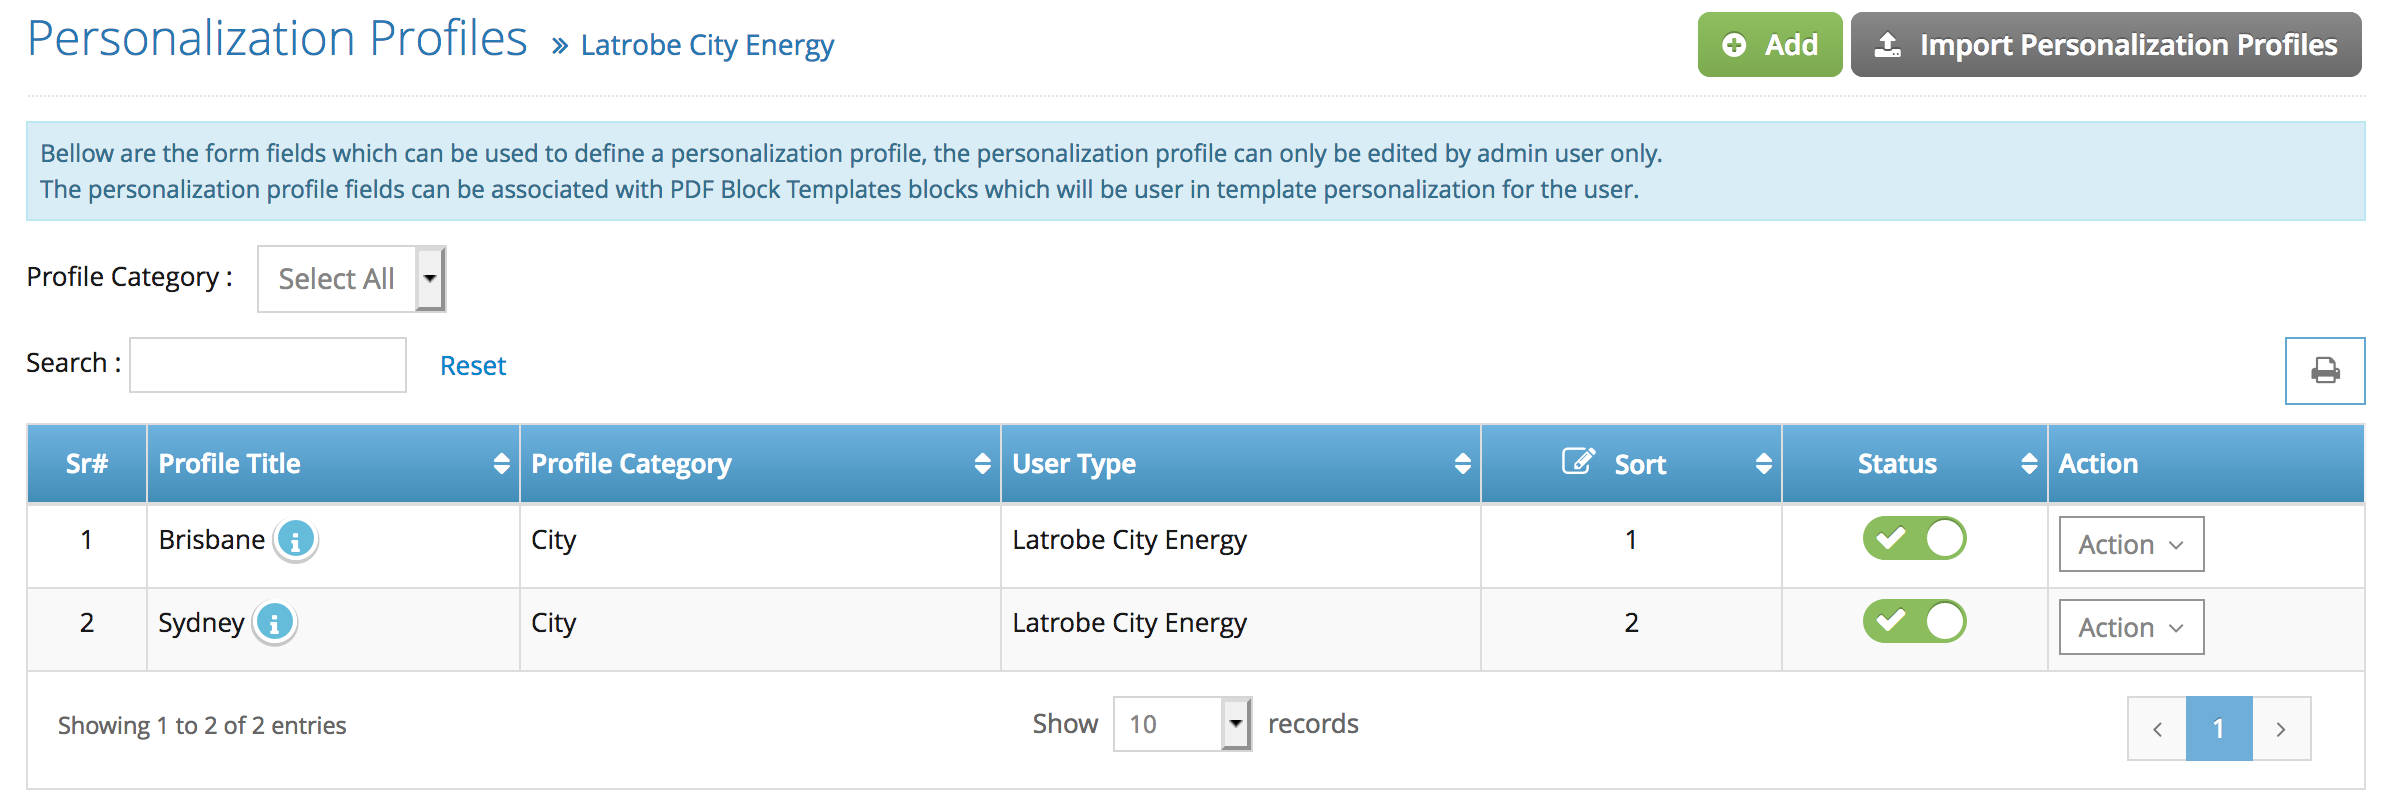
Step 5. Setting up Personalisation Profile, still on the same page (corporate profile tab) click the purple button ‘personalizations profile’ > Click Add to add the first personalisation profile.
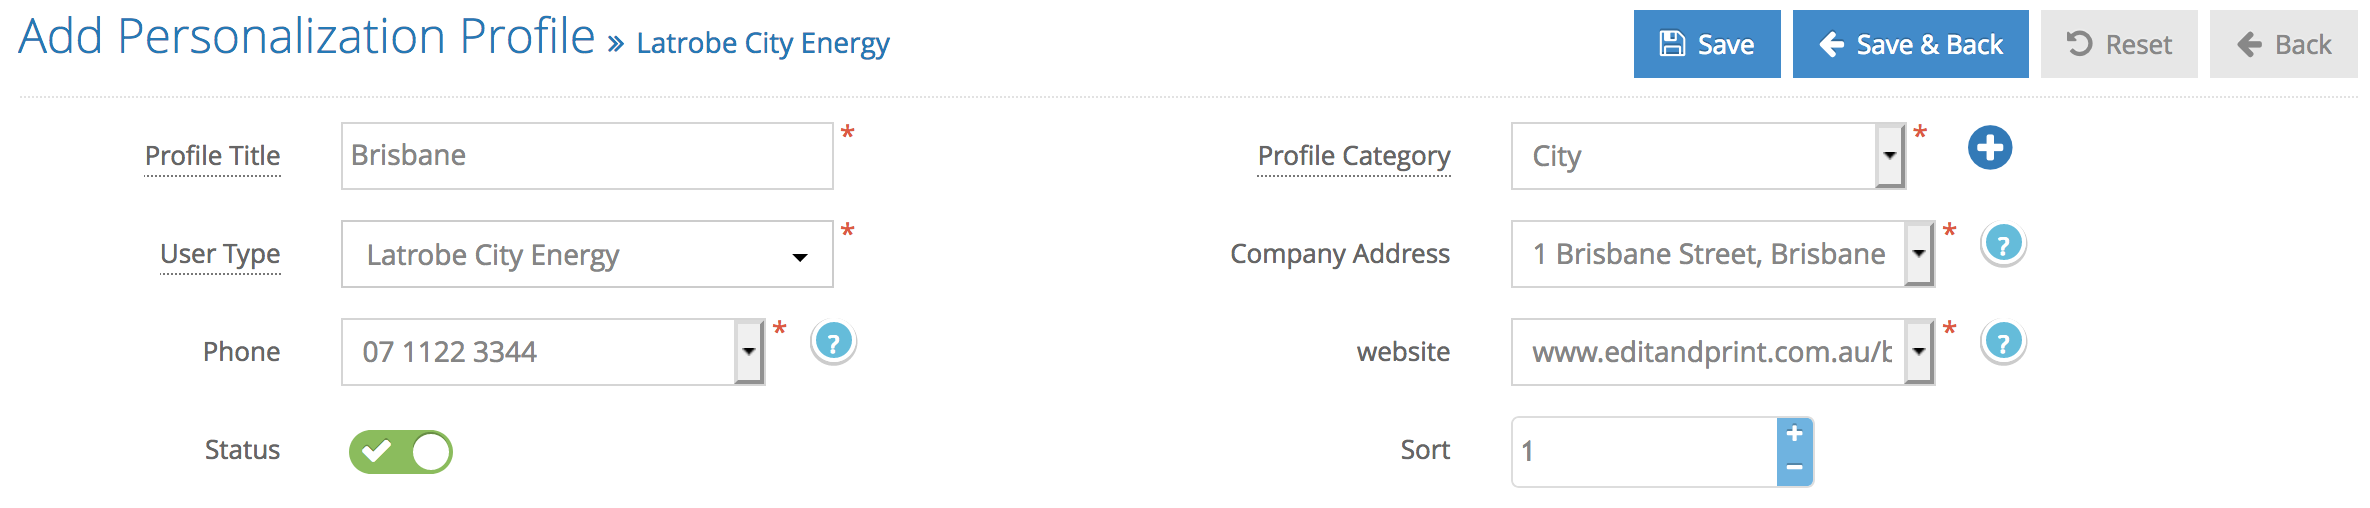
The very top left will be the title – the title will display in the front end side in the online editor.
Profile Category : categorise your profile on to different category for user friendiness interface for your customers (this will be userful when you have multiple personalisation profile).
User Type : settings to assign personalisation to a certain corporate or all corporates.
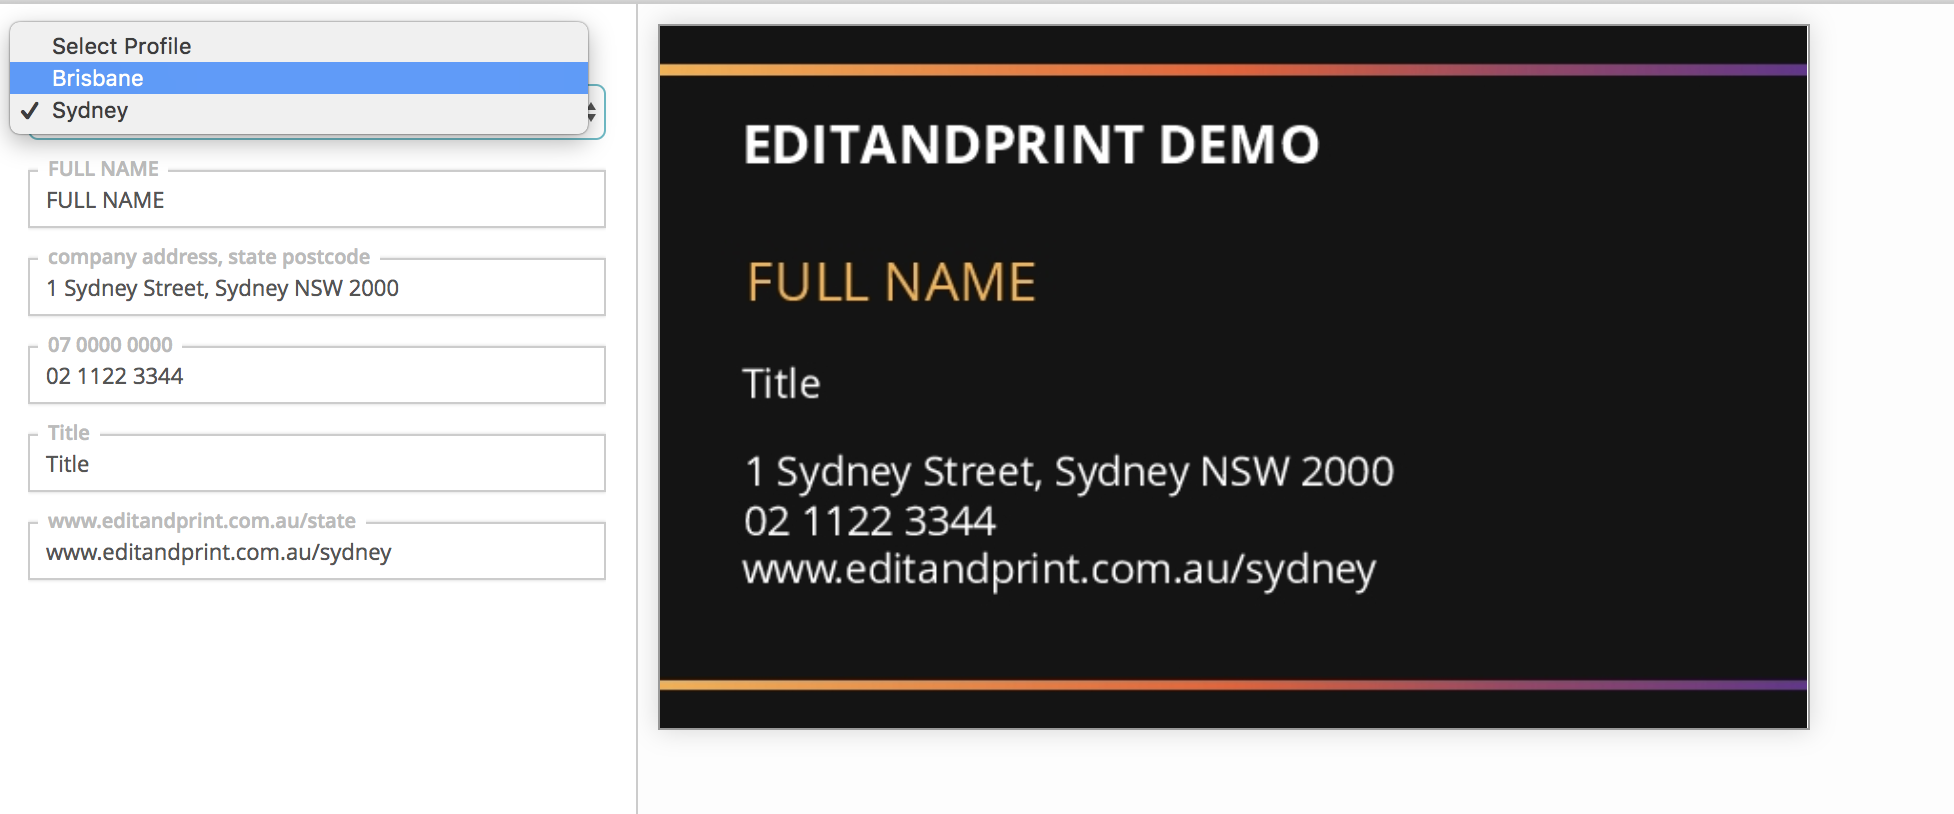
Next is selecting the pre-filled profile. As you have set the dropdown and the attribute option on the previous stage (corporate profile) you can select the correct options for the profile you are about to create (example below)
in this case we are trying to set the first profile for Brisbane, therefore we selected all the profile options for (company, phone and website) to be brisbane details.
Last is to set the status and sort order of the profile.
Below is the example when we created 2 profile for brisbane and sydney.
Tips : you can always remove or edit your profile anytime.
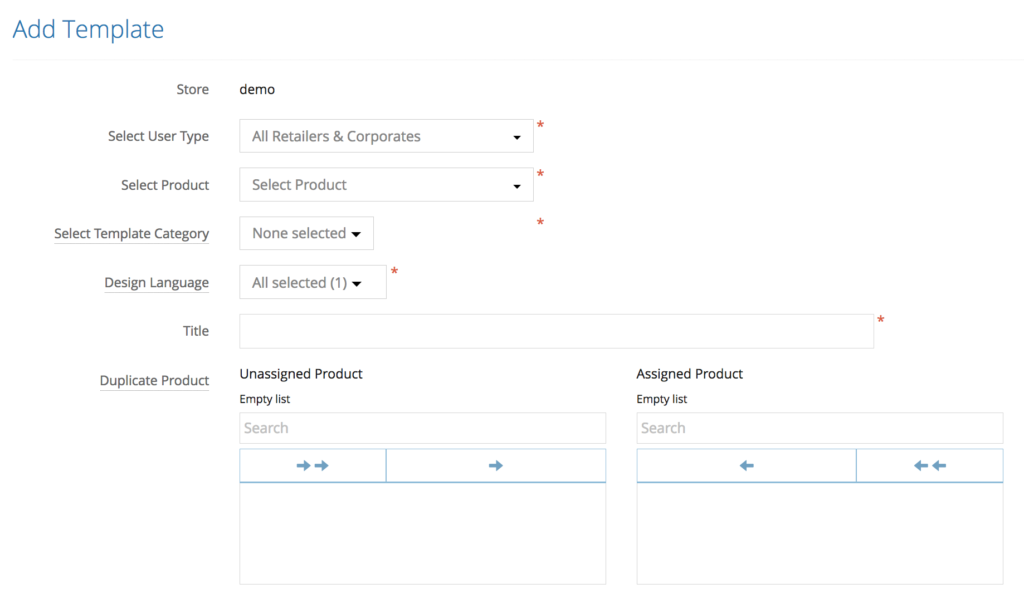
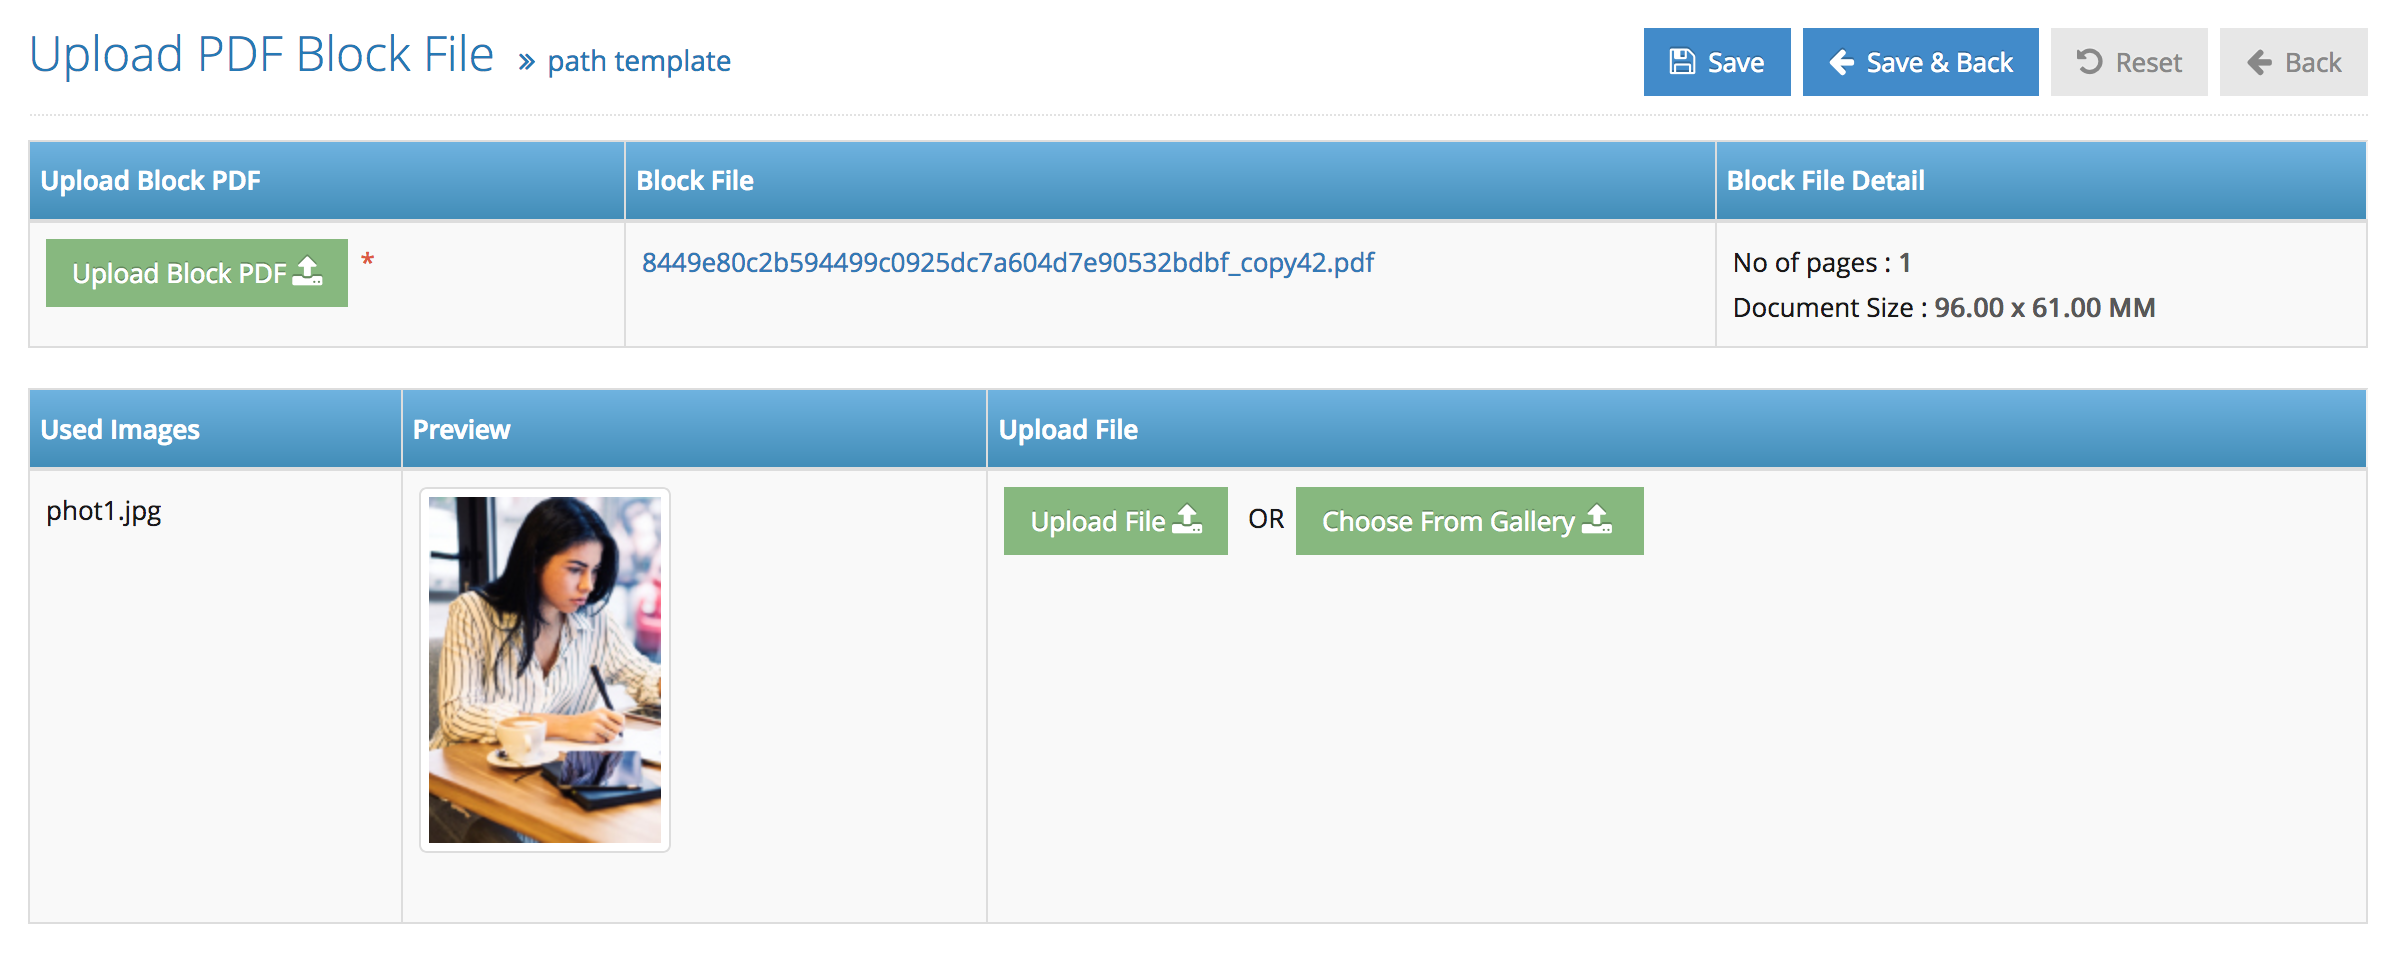
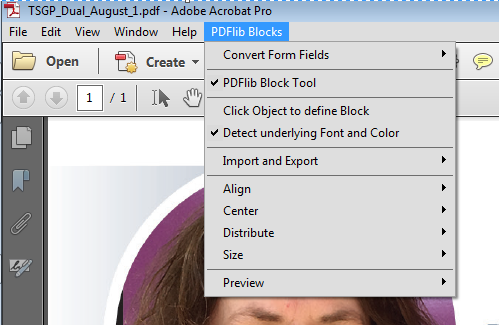
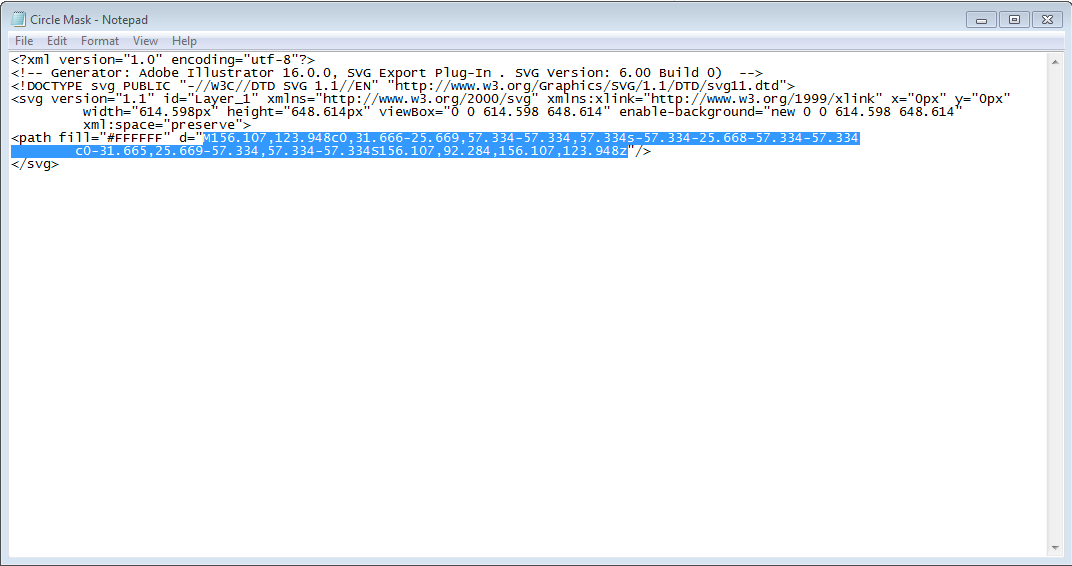
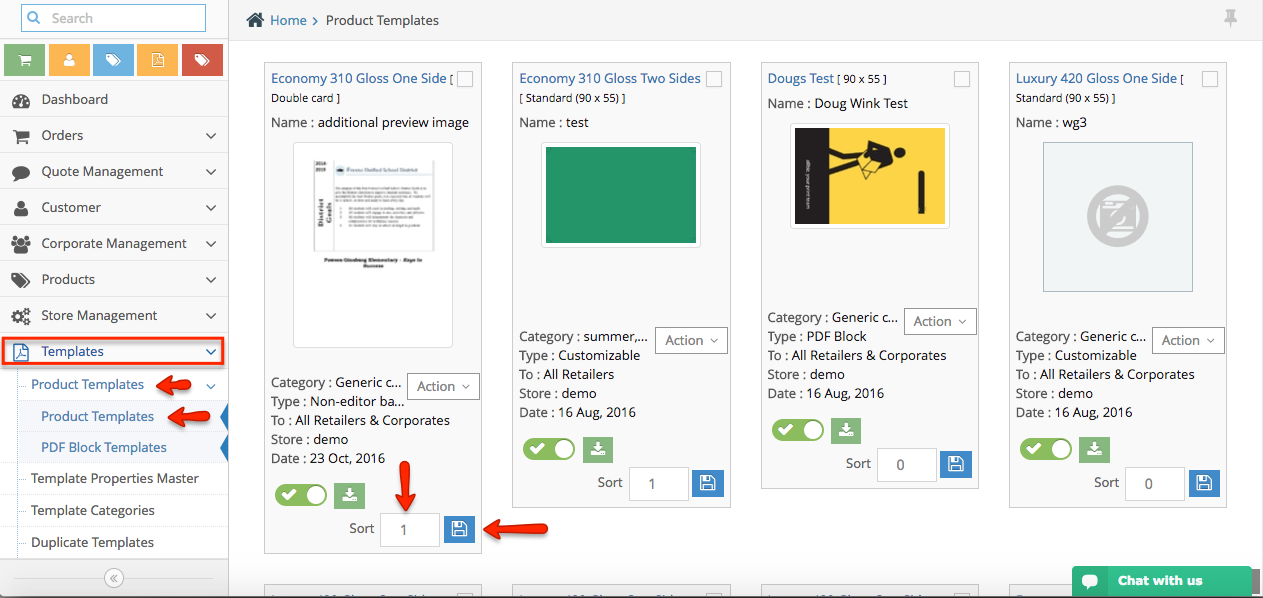
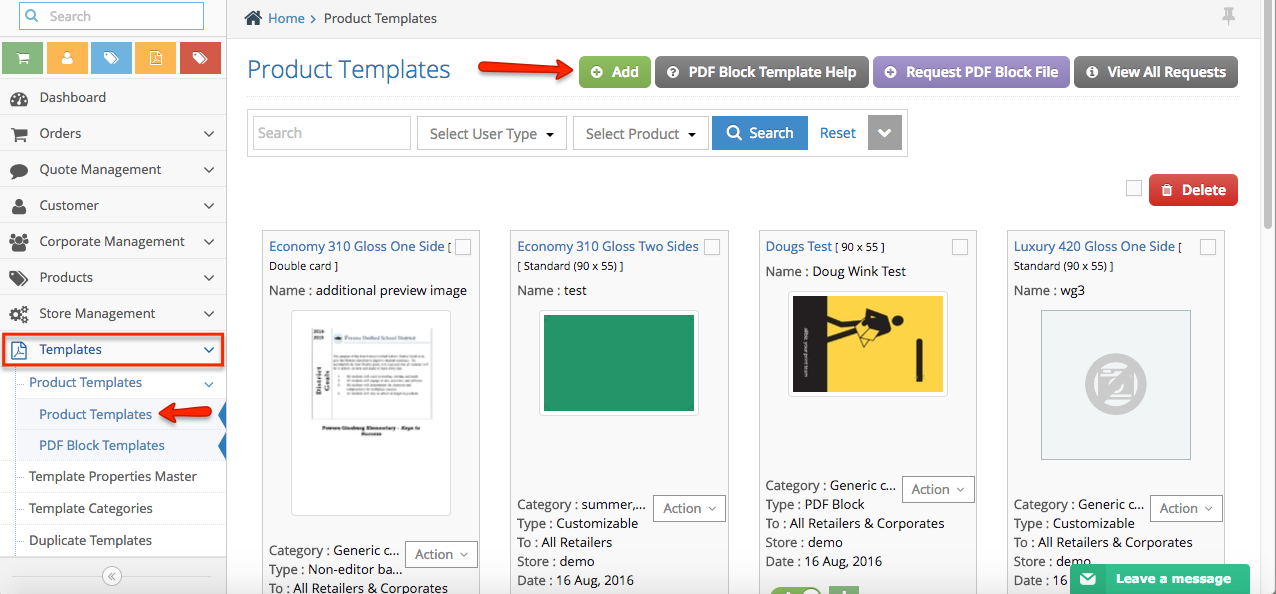
Uploading Template
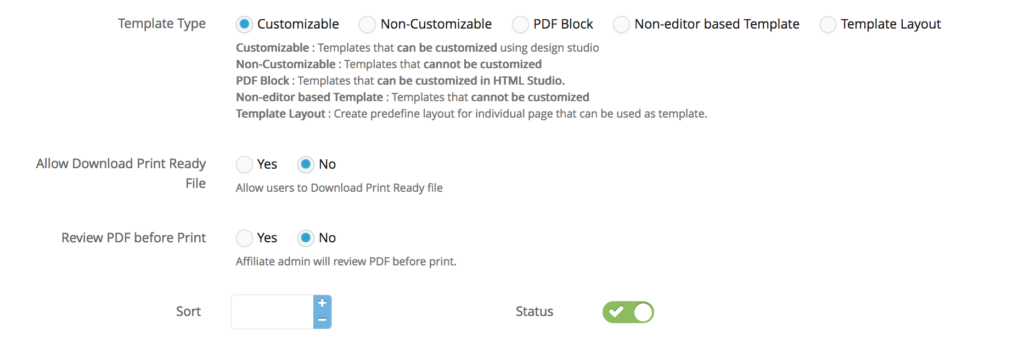
Uploading the template will not be any different than uploading a normal PDF block template, the only thing that is important is to check the personalisation profiles to make it work. (settings is at the bottom page above the sort order when adding a new template)

Testing Template :
Please remember to test it while you have your admin side close or logged out. Otherwise we are recommending to use different browser to test it.


 Step 3. Follow the prompt as per below