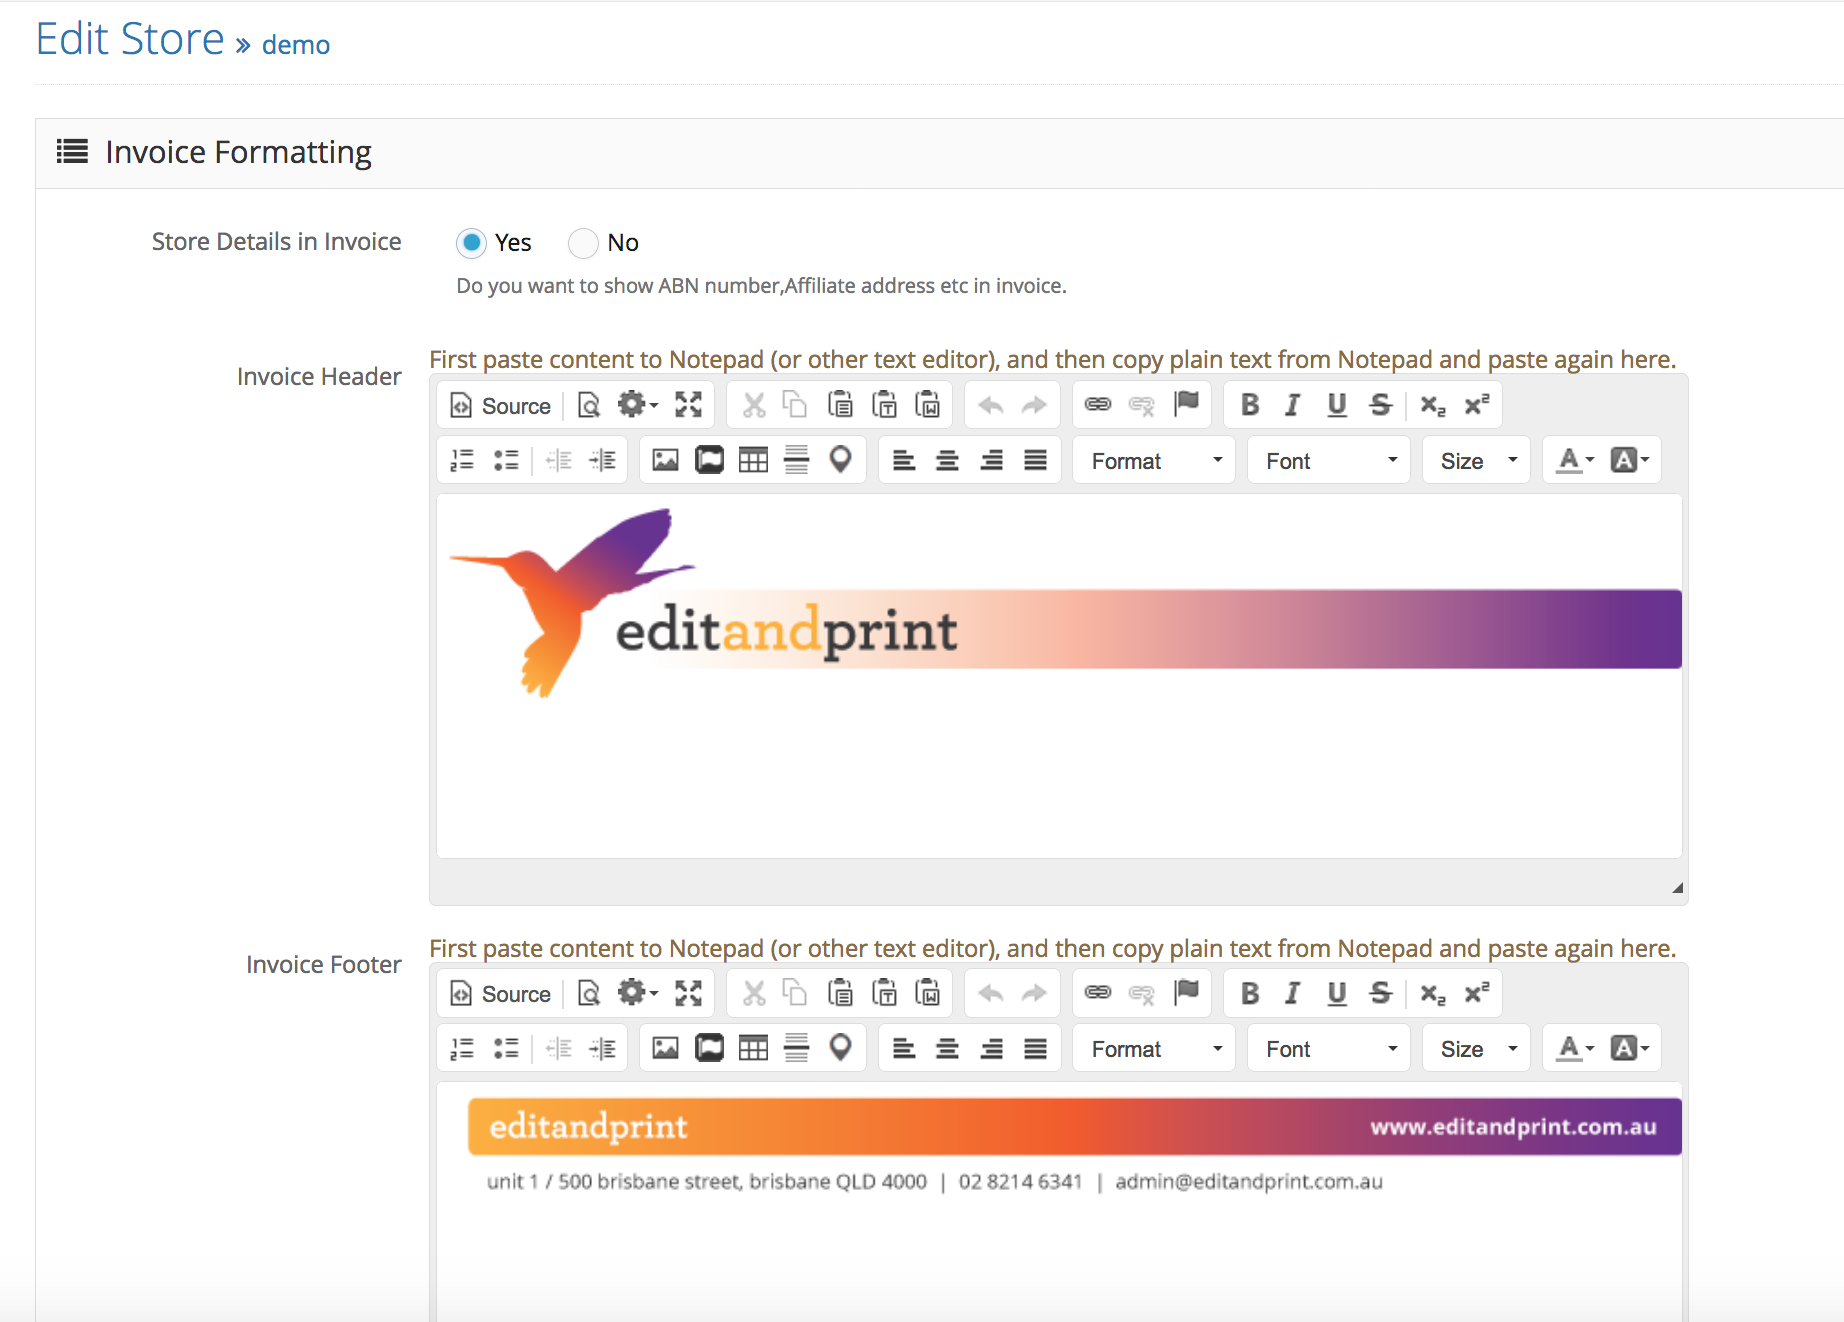
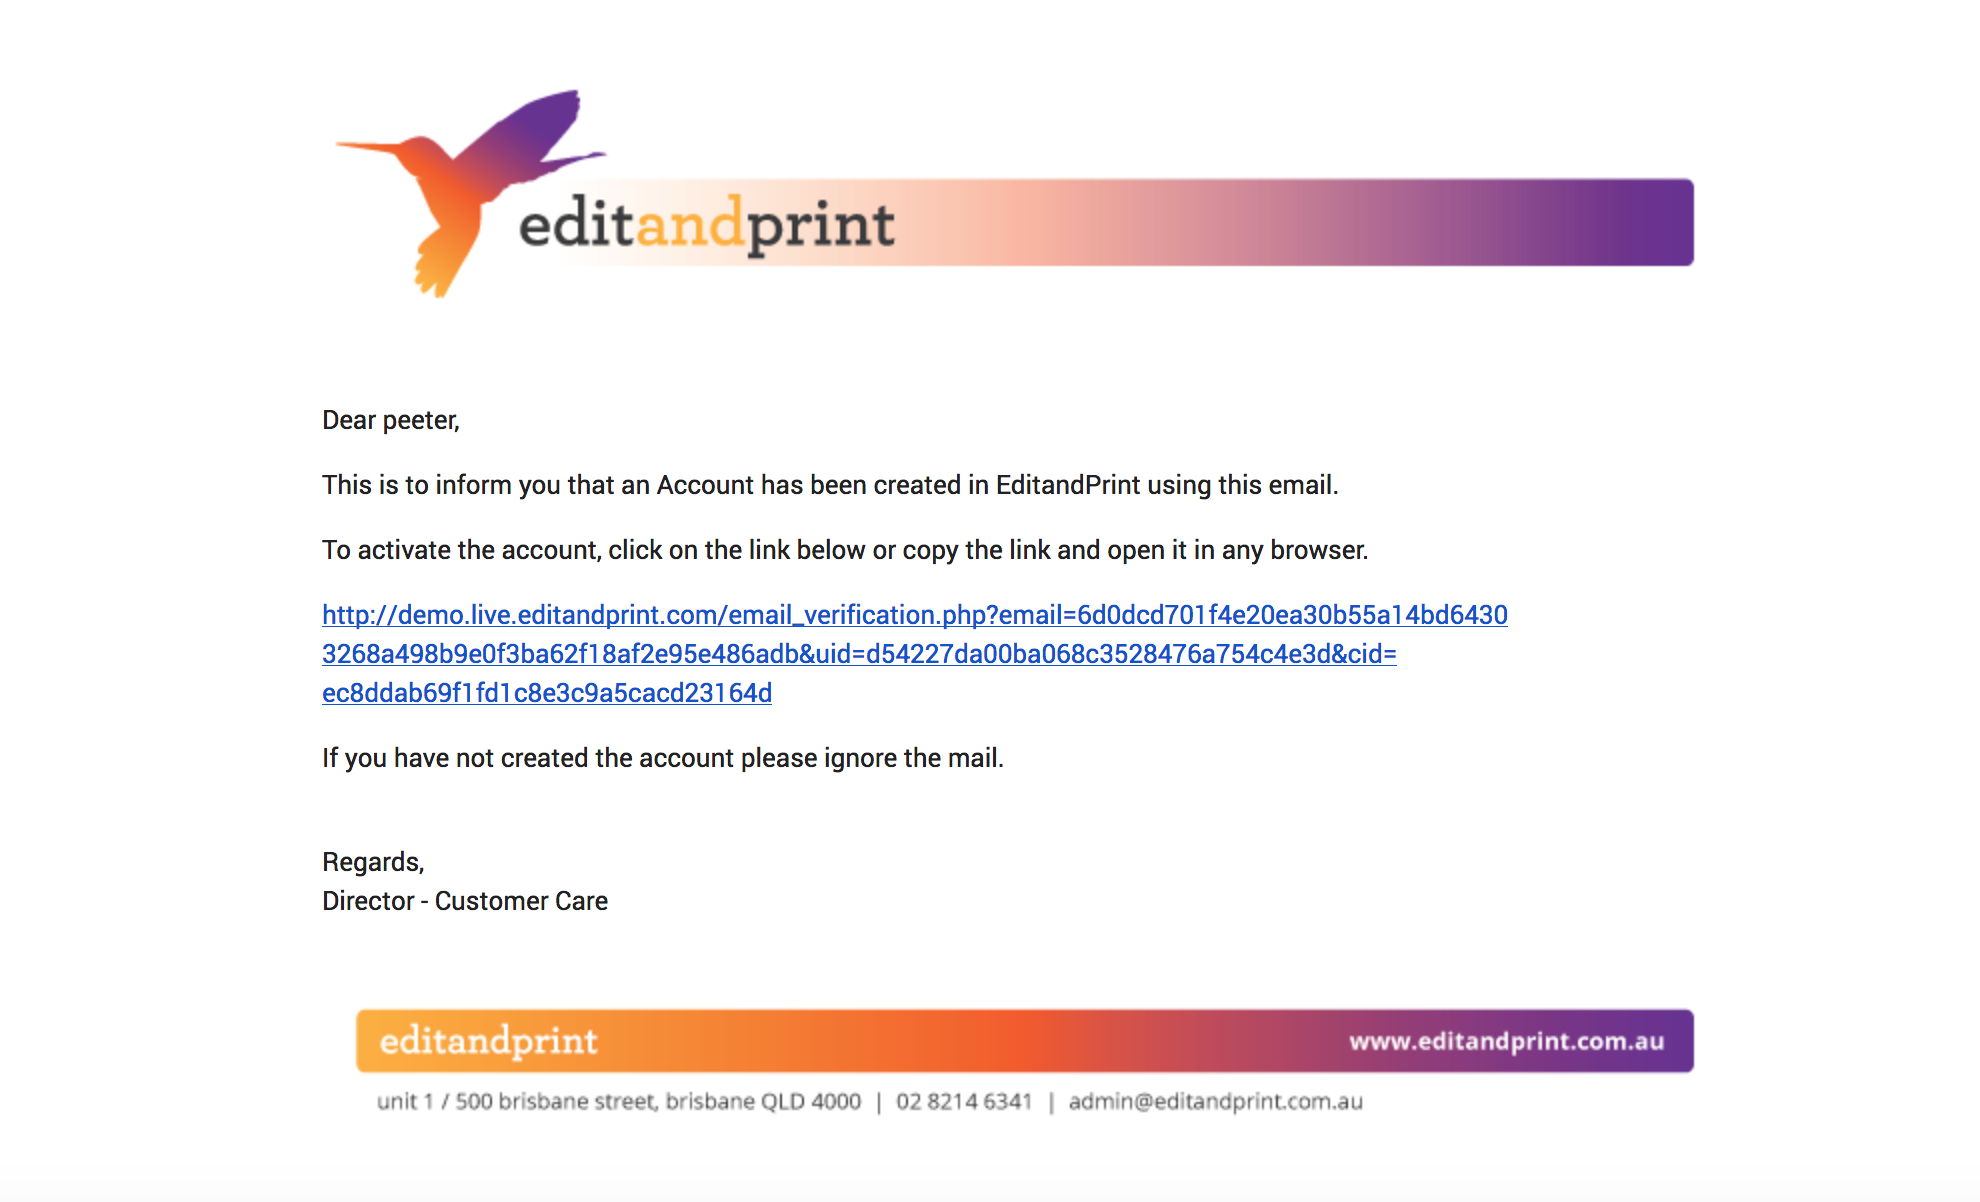
Shop / Store Details is an important detail for your web to print solution – as we will be using this information for the details and also this information can also be display as part of your email notification.
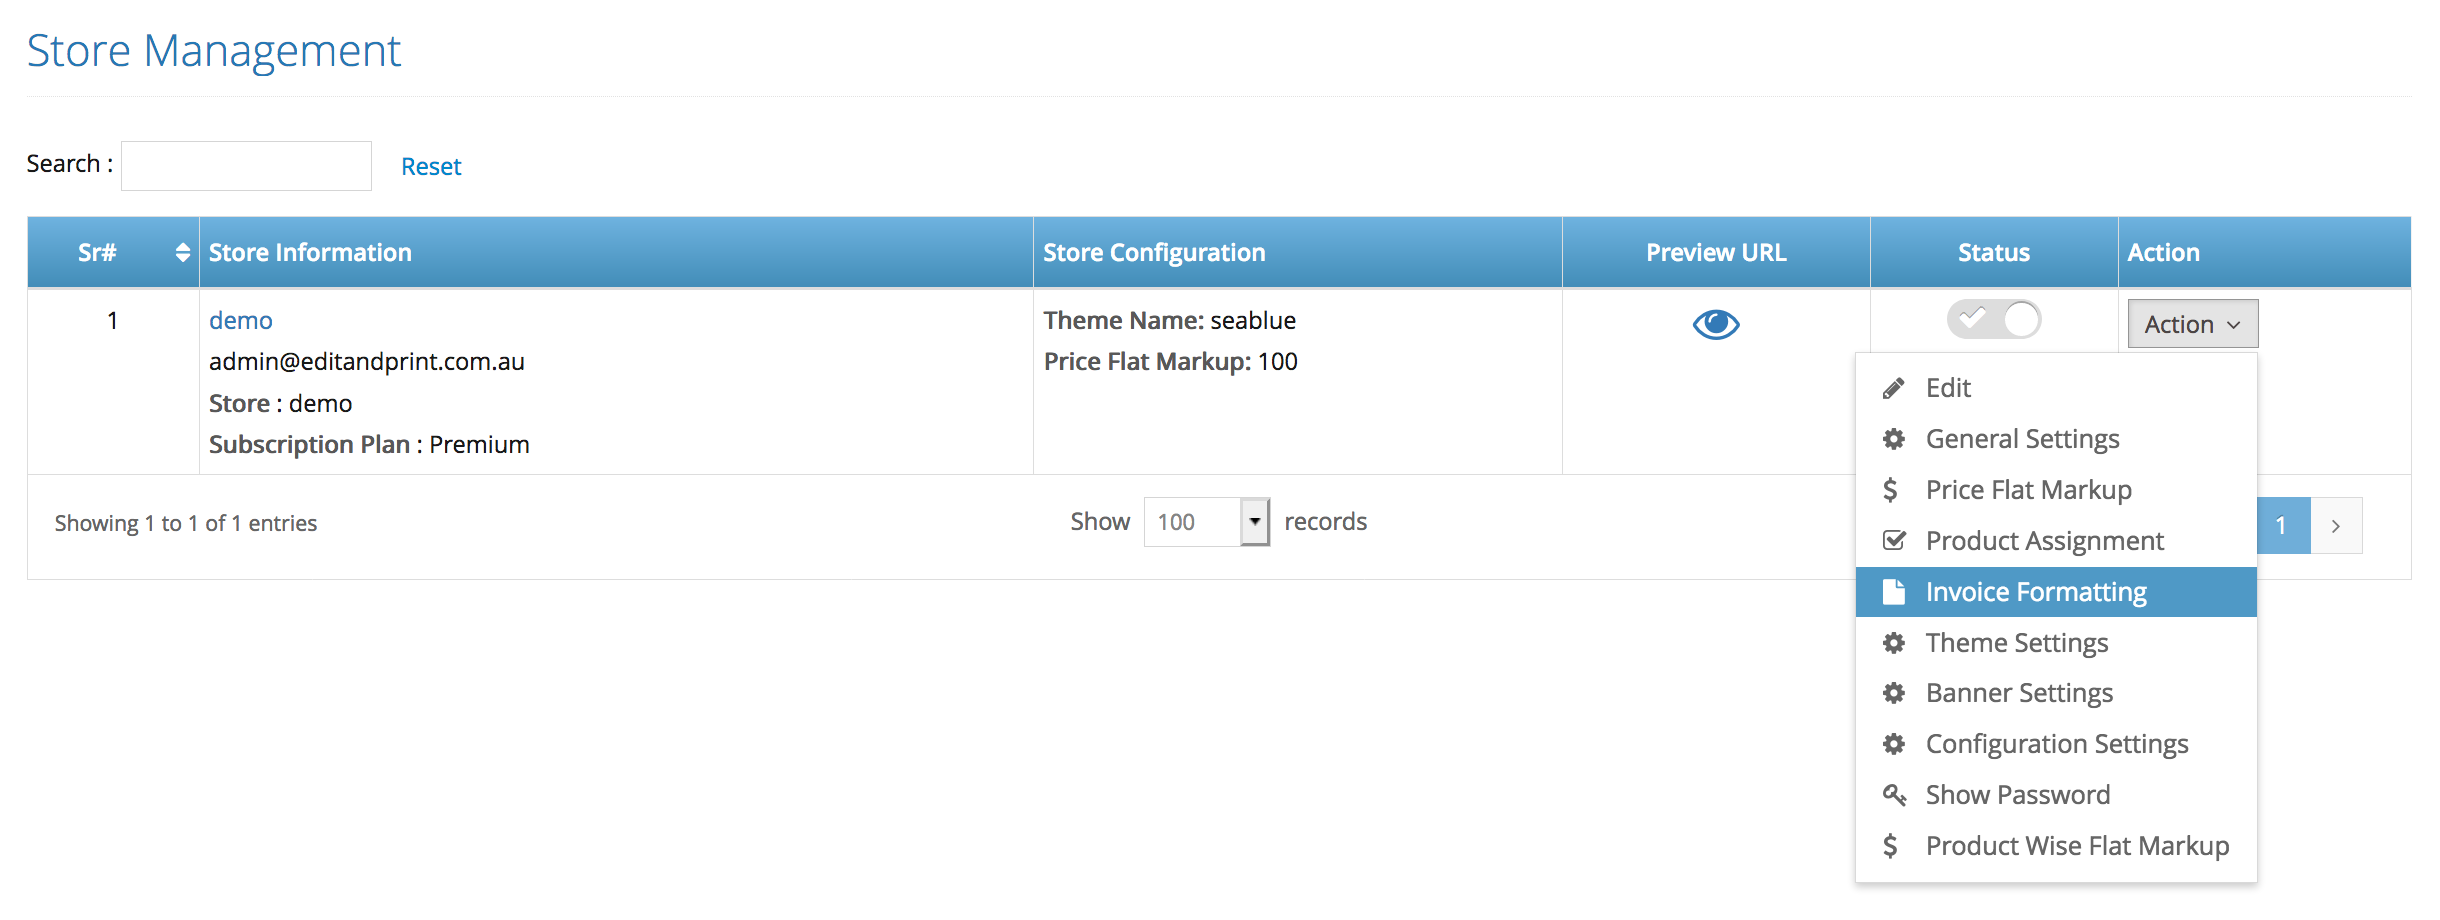
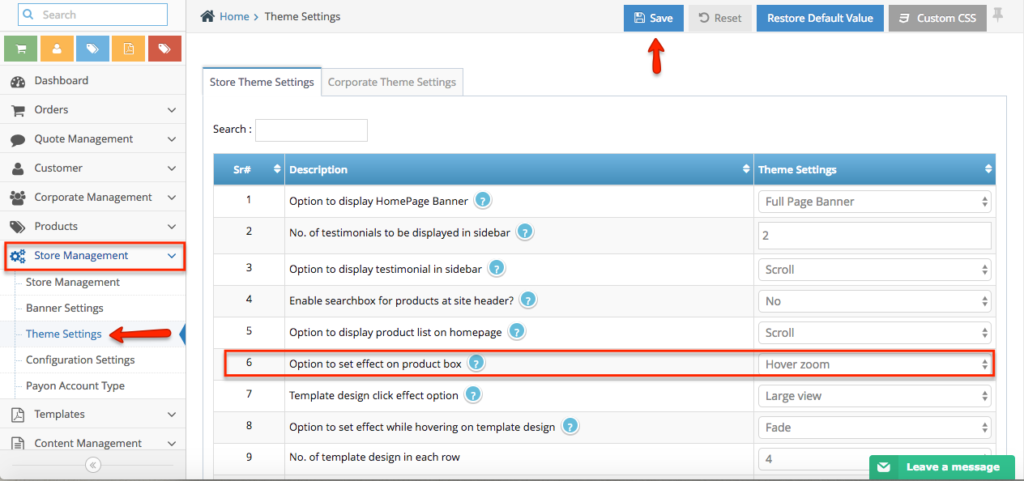
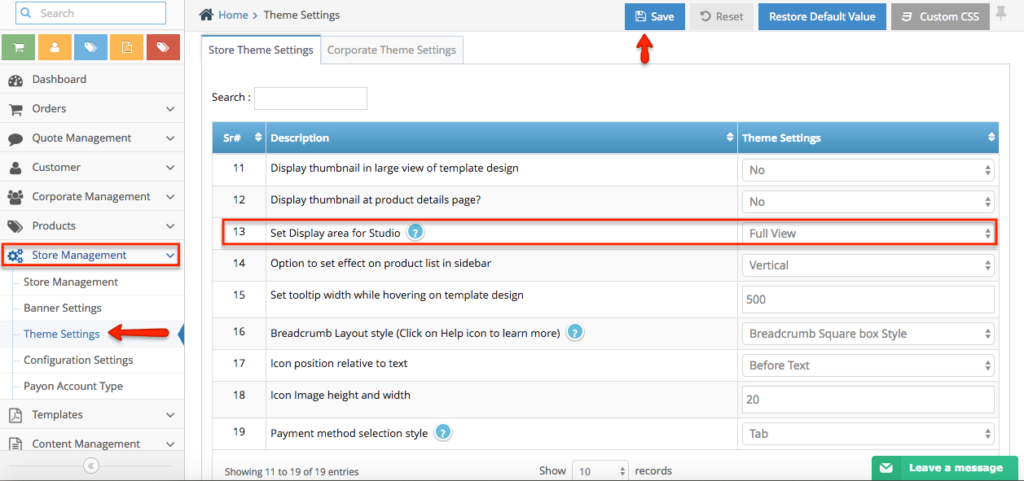
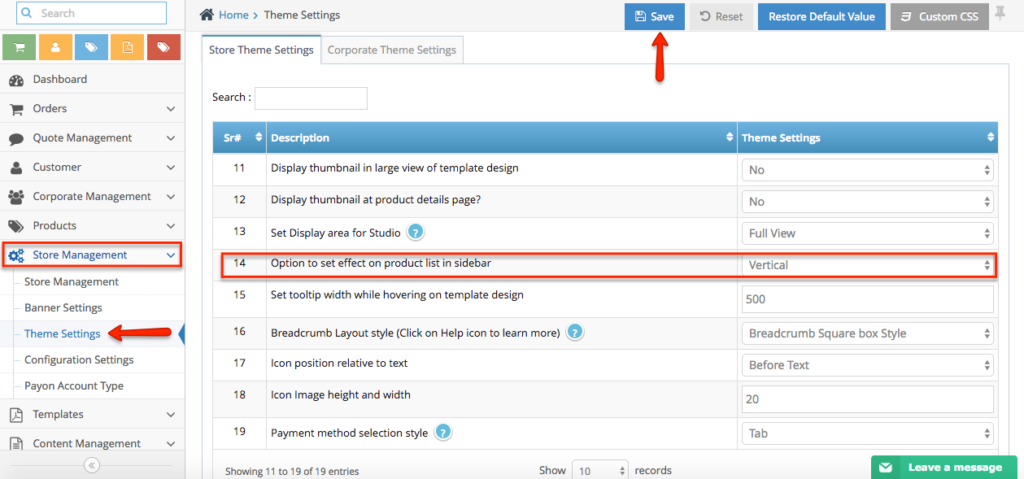
Step 1. Login to your shop admin > navigate to store management > store management on the left-hand side navigation
Step 2. You will see your shop name > click action > edit
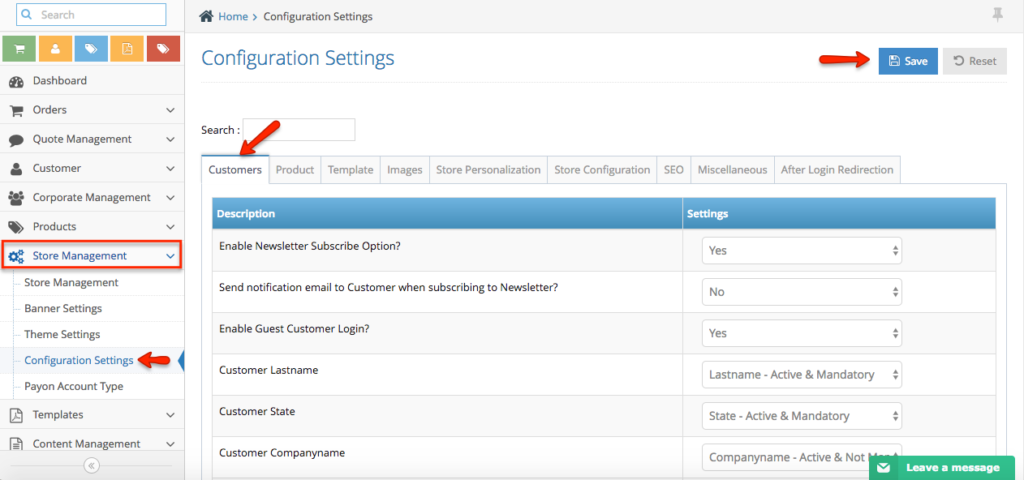
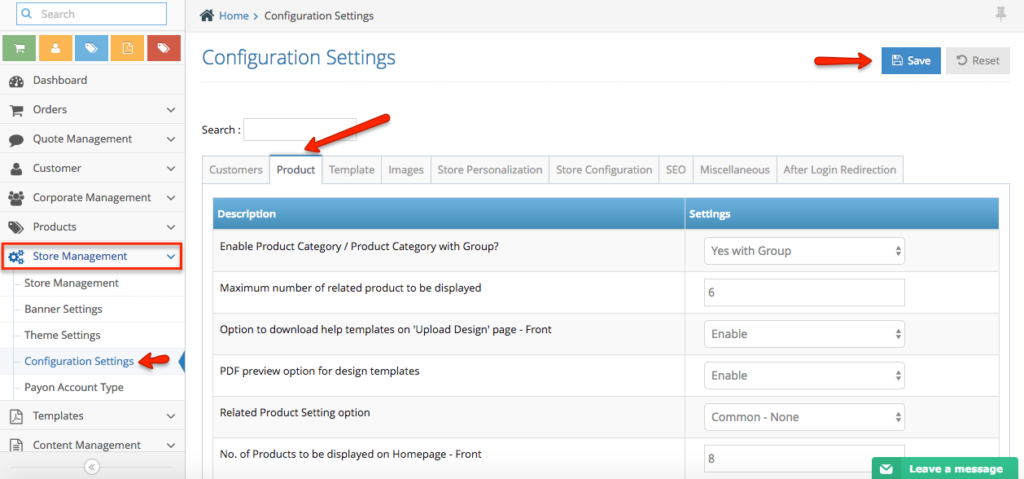
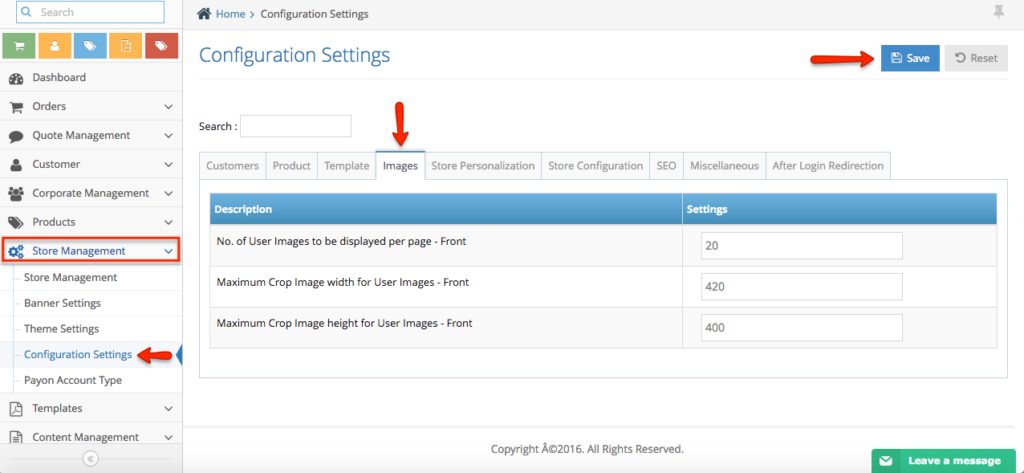
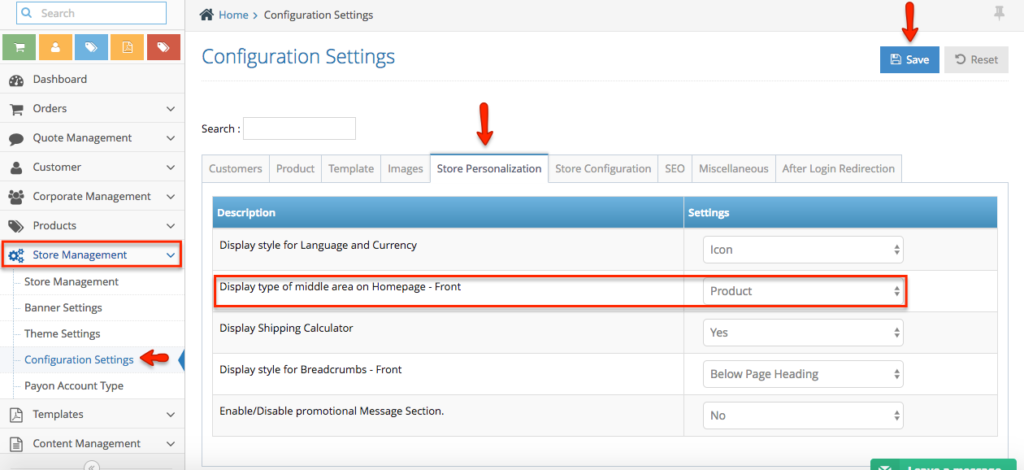
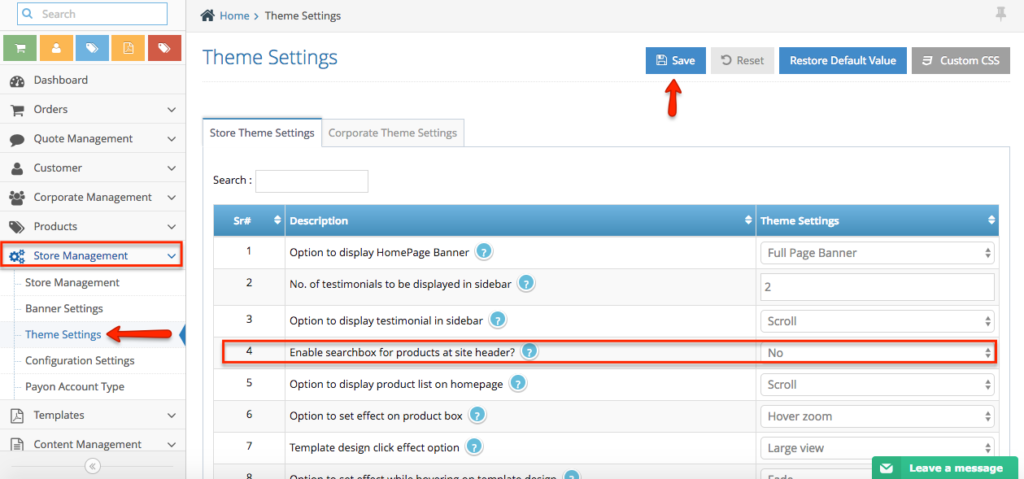
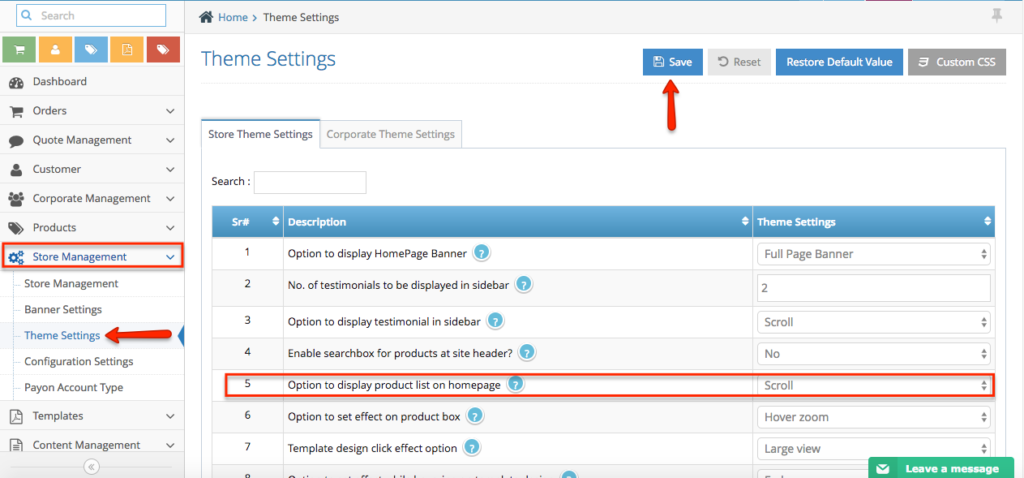
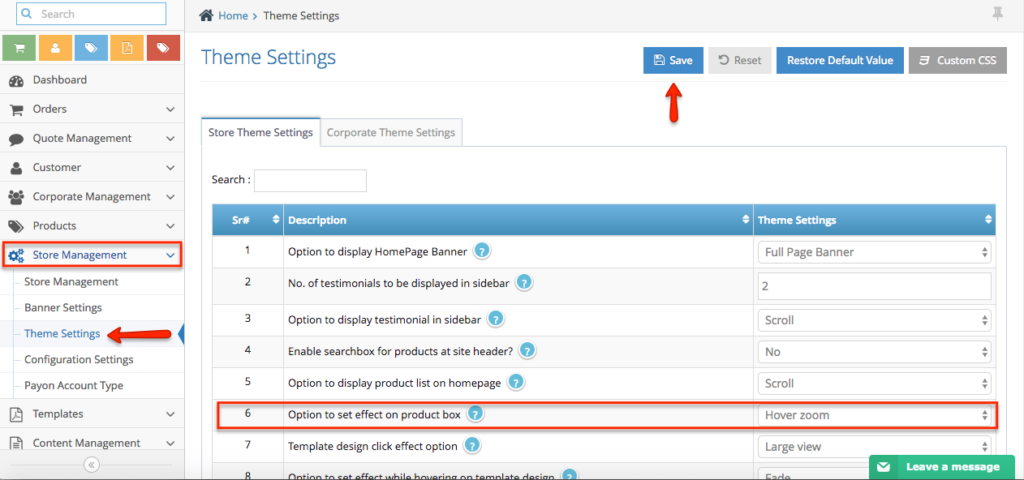
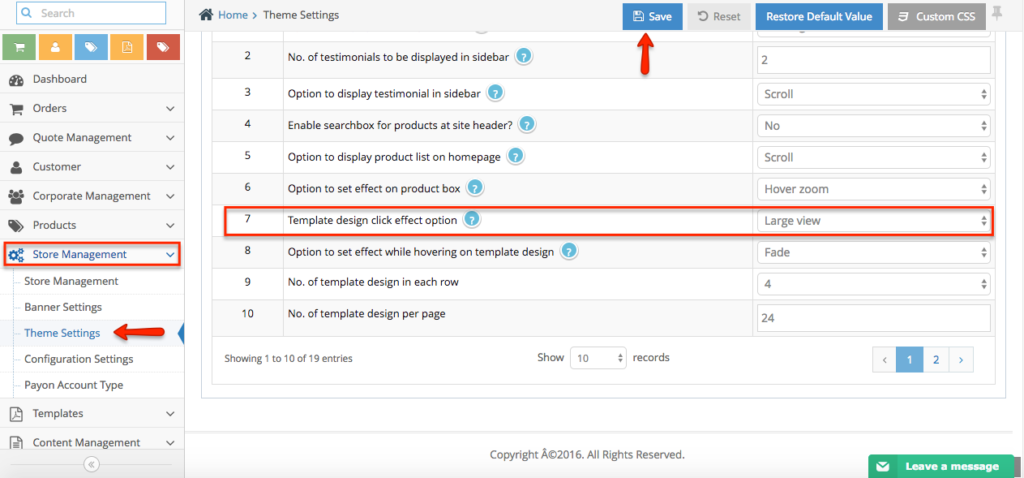
Step 3. Once you in the edit page you can see the form as per below, please find the explanation below
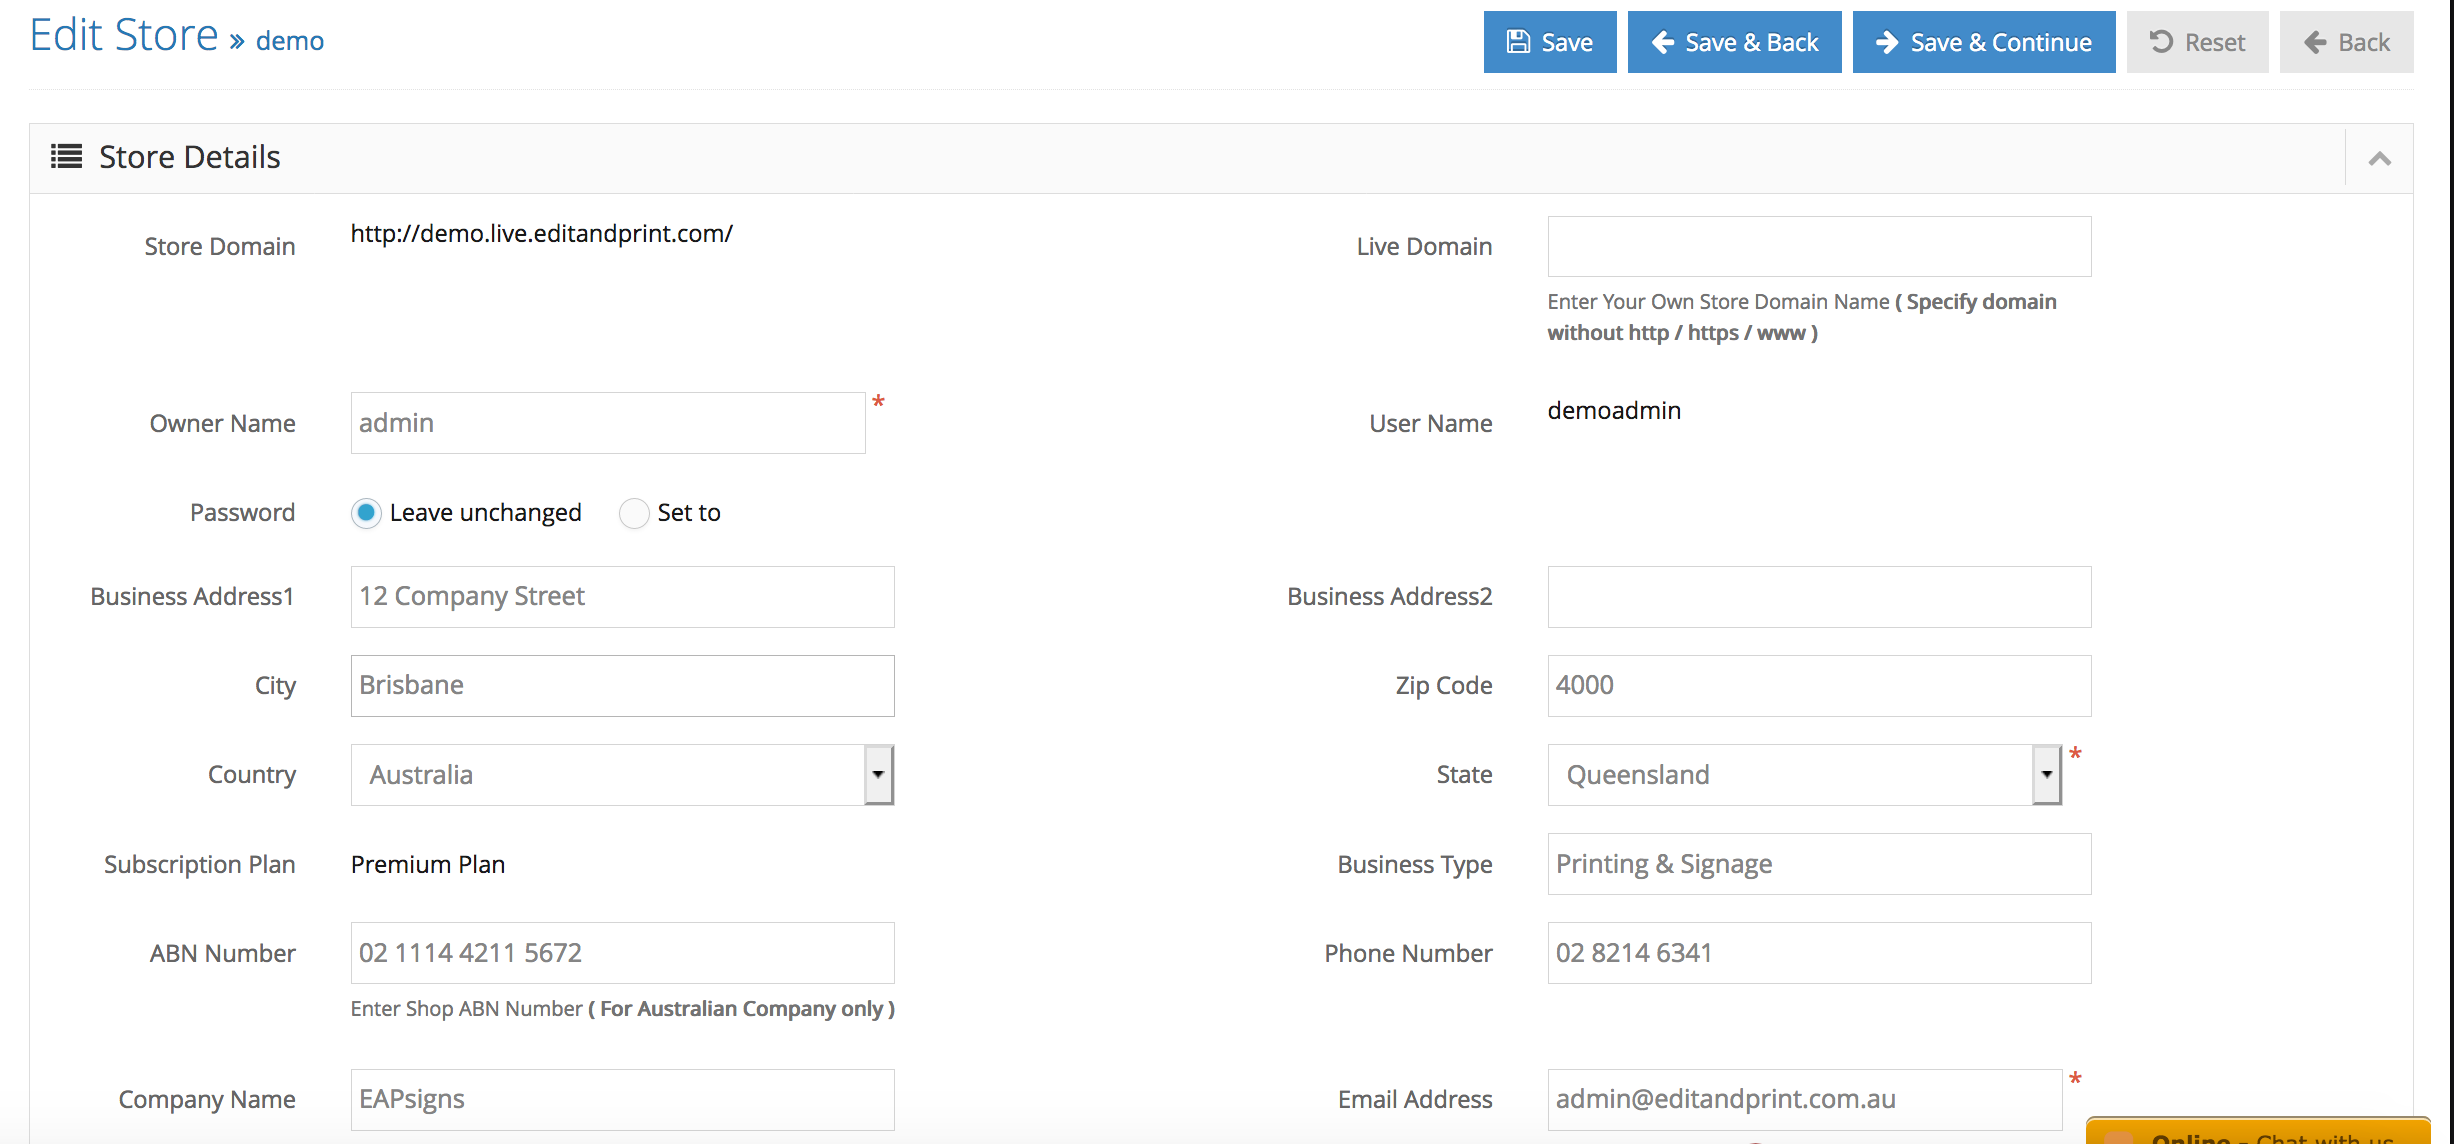
Store Domain: temporary domain prior to your website going live
Live Domain: your actual domain you will use when you want to go live (please do not fill it when you are not ready to go live)
Owner Name: your full name
Username: admin username login credential
Password: admin password login credential
Business Address: (City, Postcode, Country, State )
Subscription Plan: type of EditandPrint plan – not showing displaying anywhere
ABN Number: Company ABN number
Phone Number: Company contact number
Company Name: Company trading name
Email Address: Company main email communication
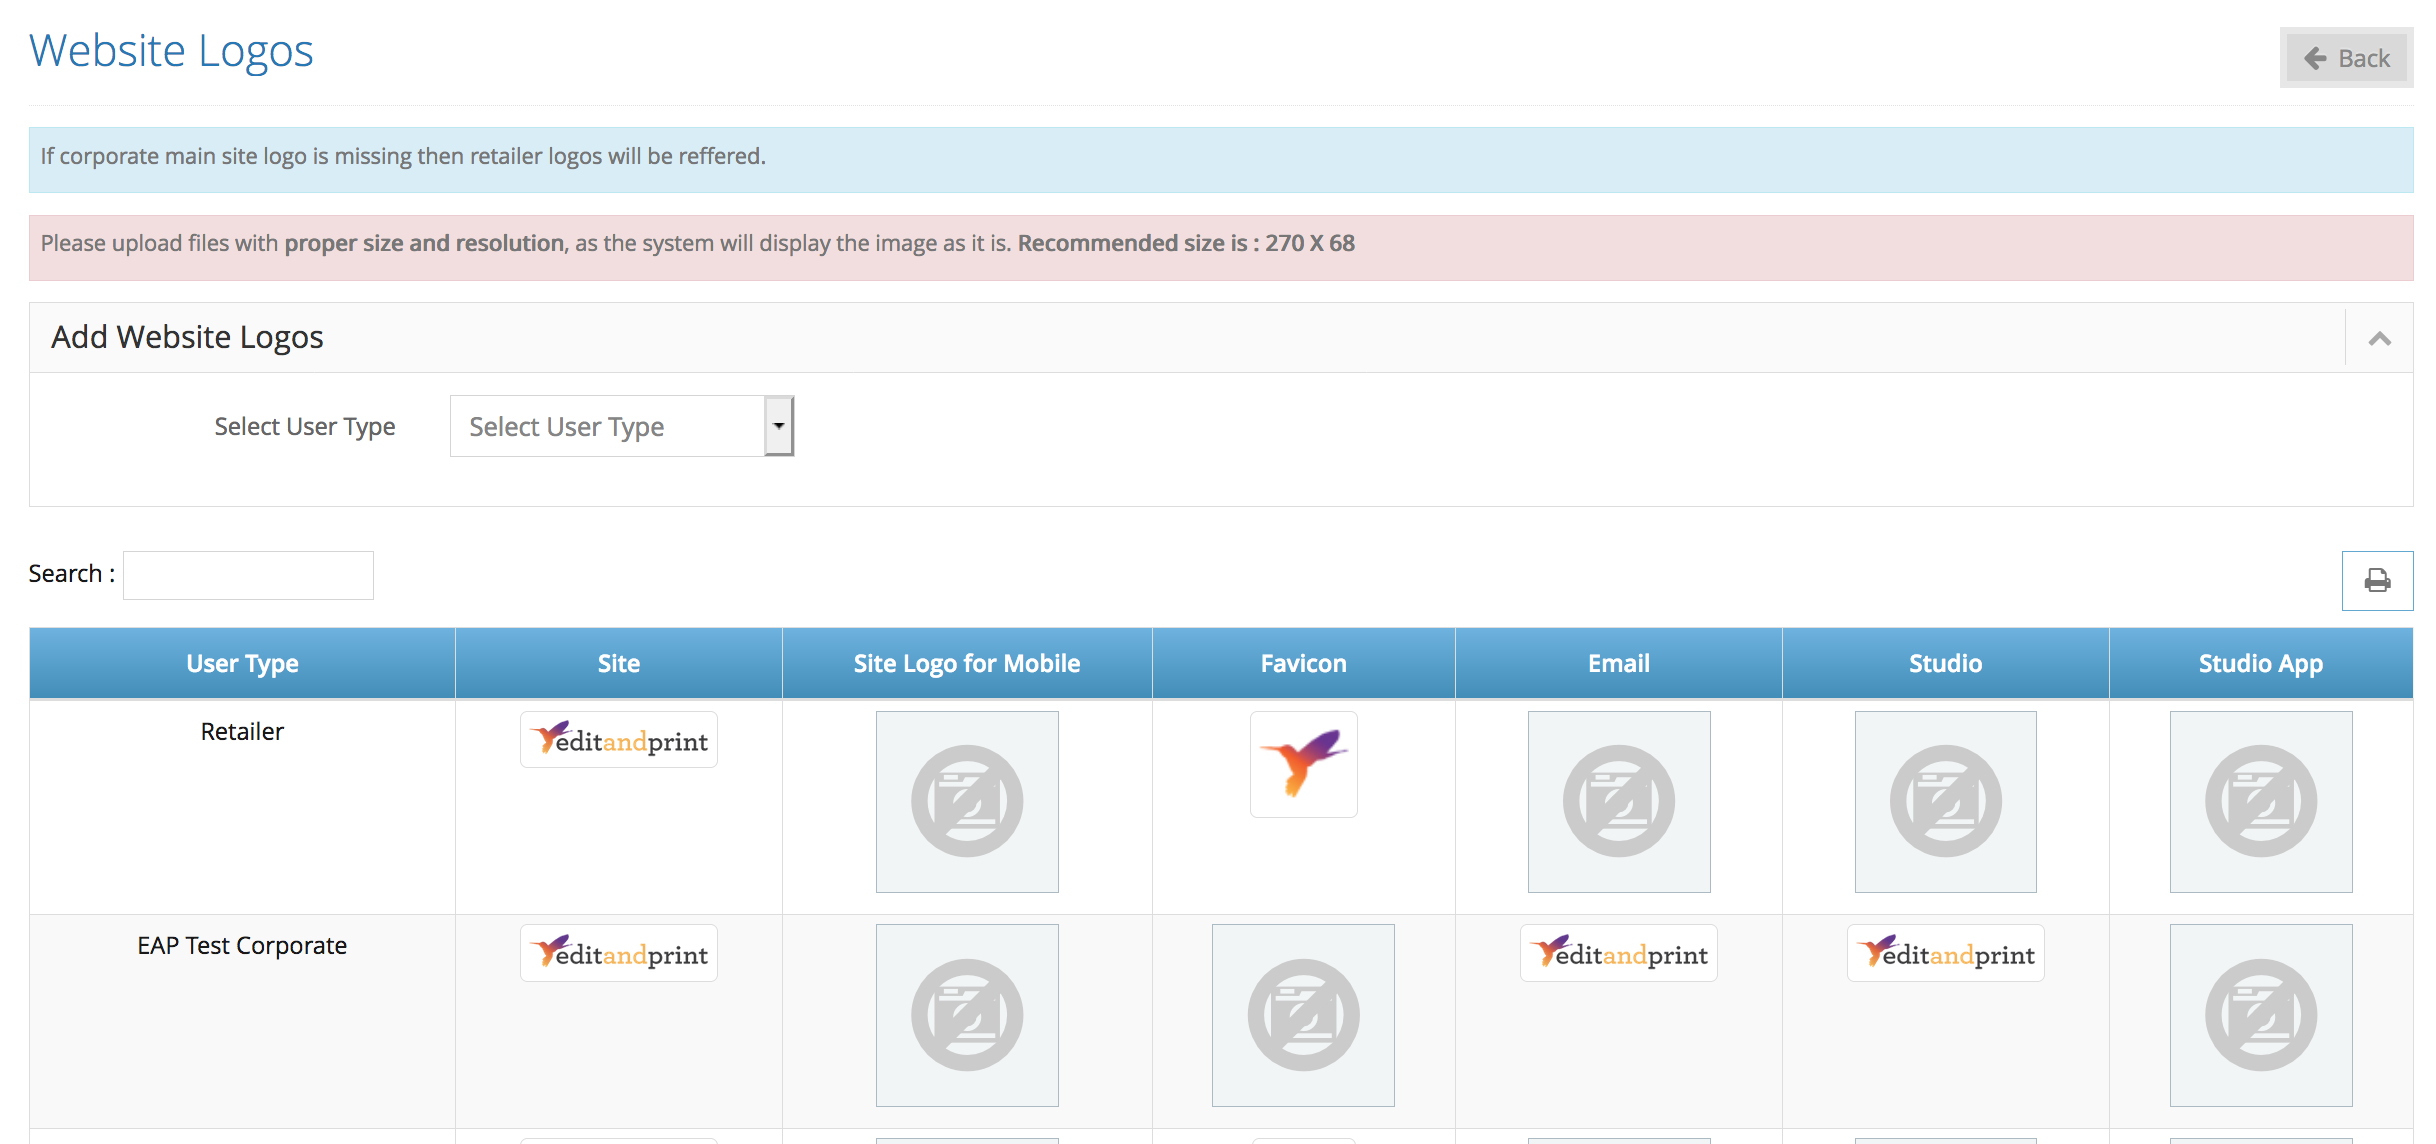
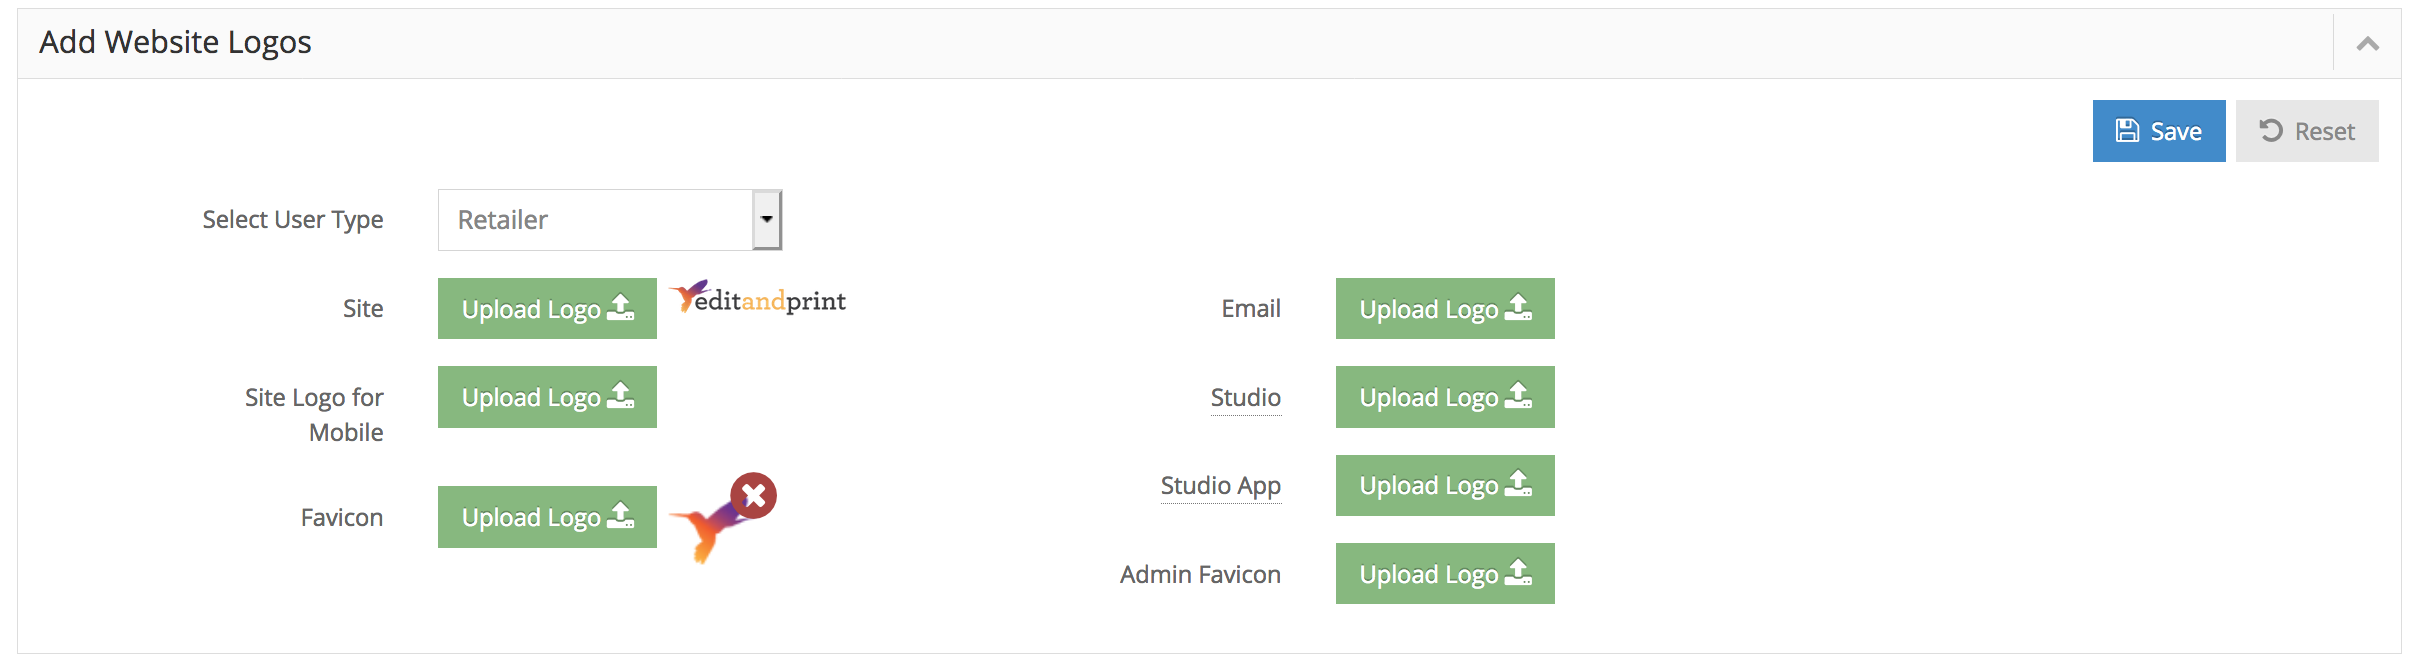
Logo: Company main website logo
Favicon: Website favicon logo – appearing on your browser tab
Notification: settings to notify the admin email for the changes.
4. Click Save to save your changes


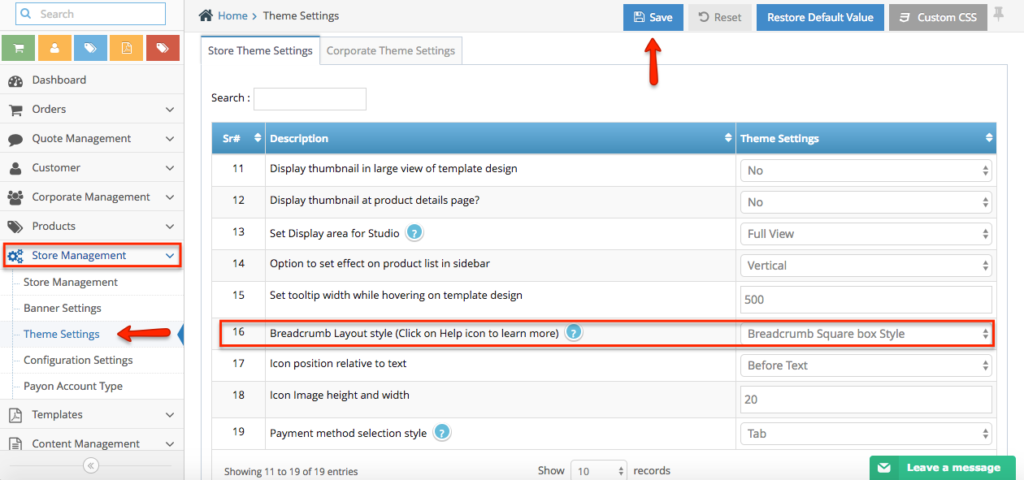
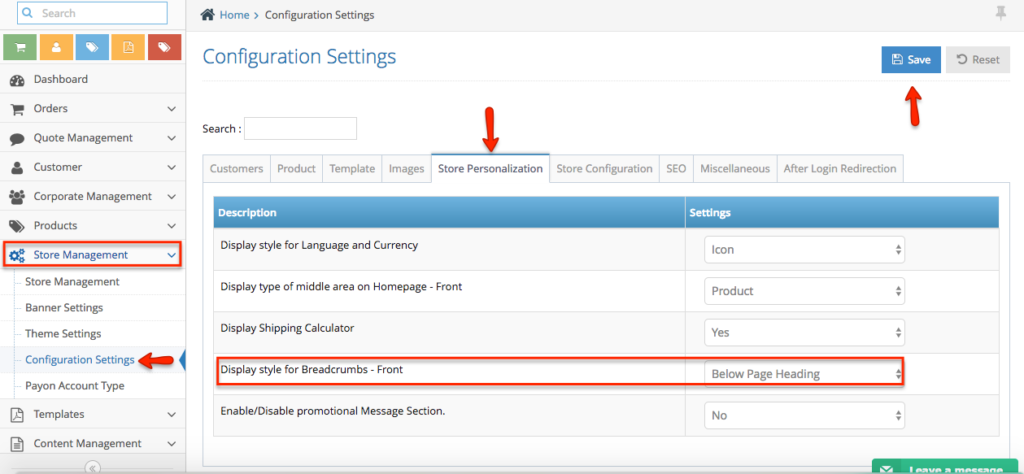
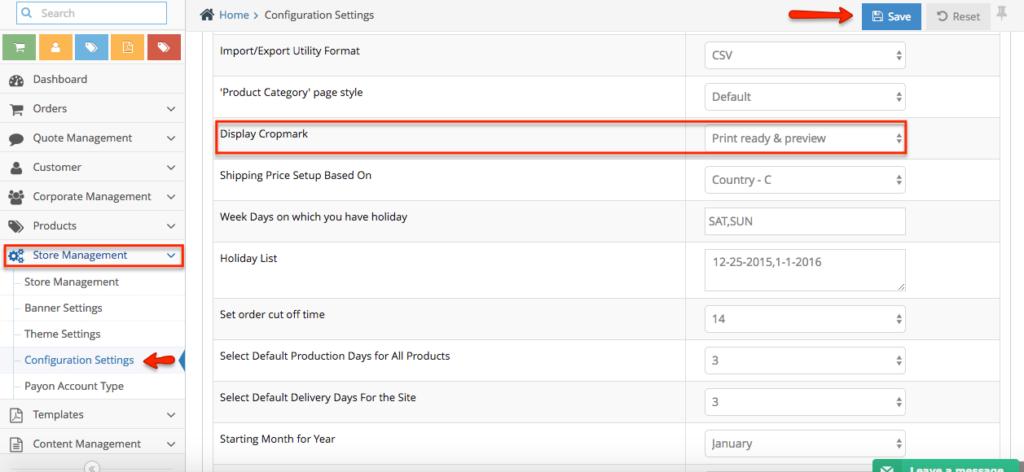
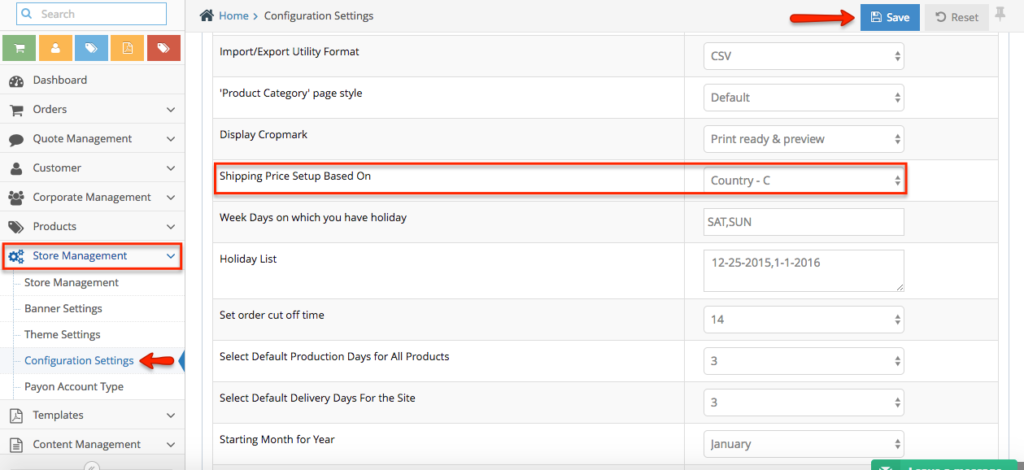
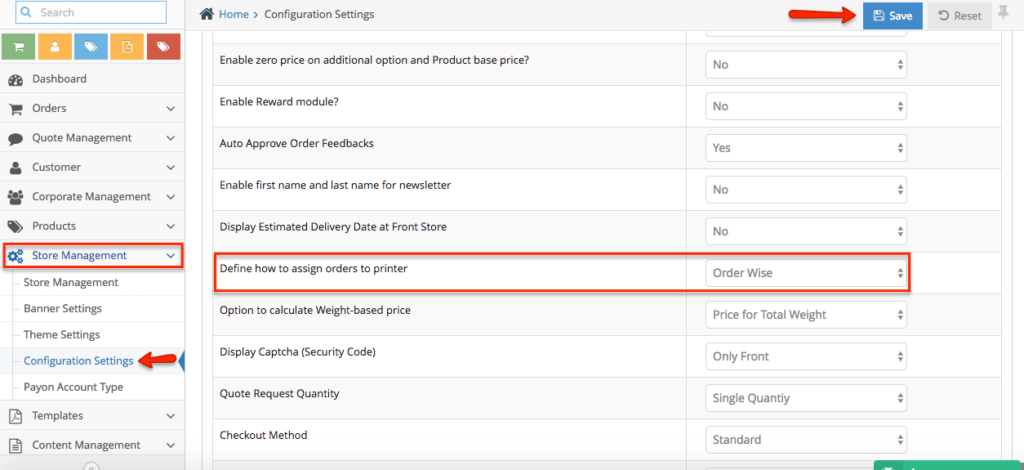
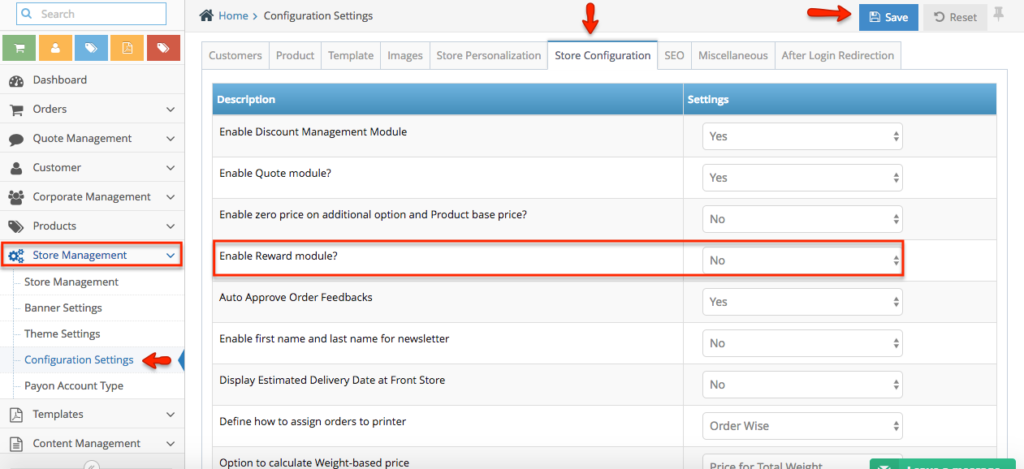
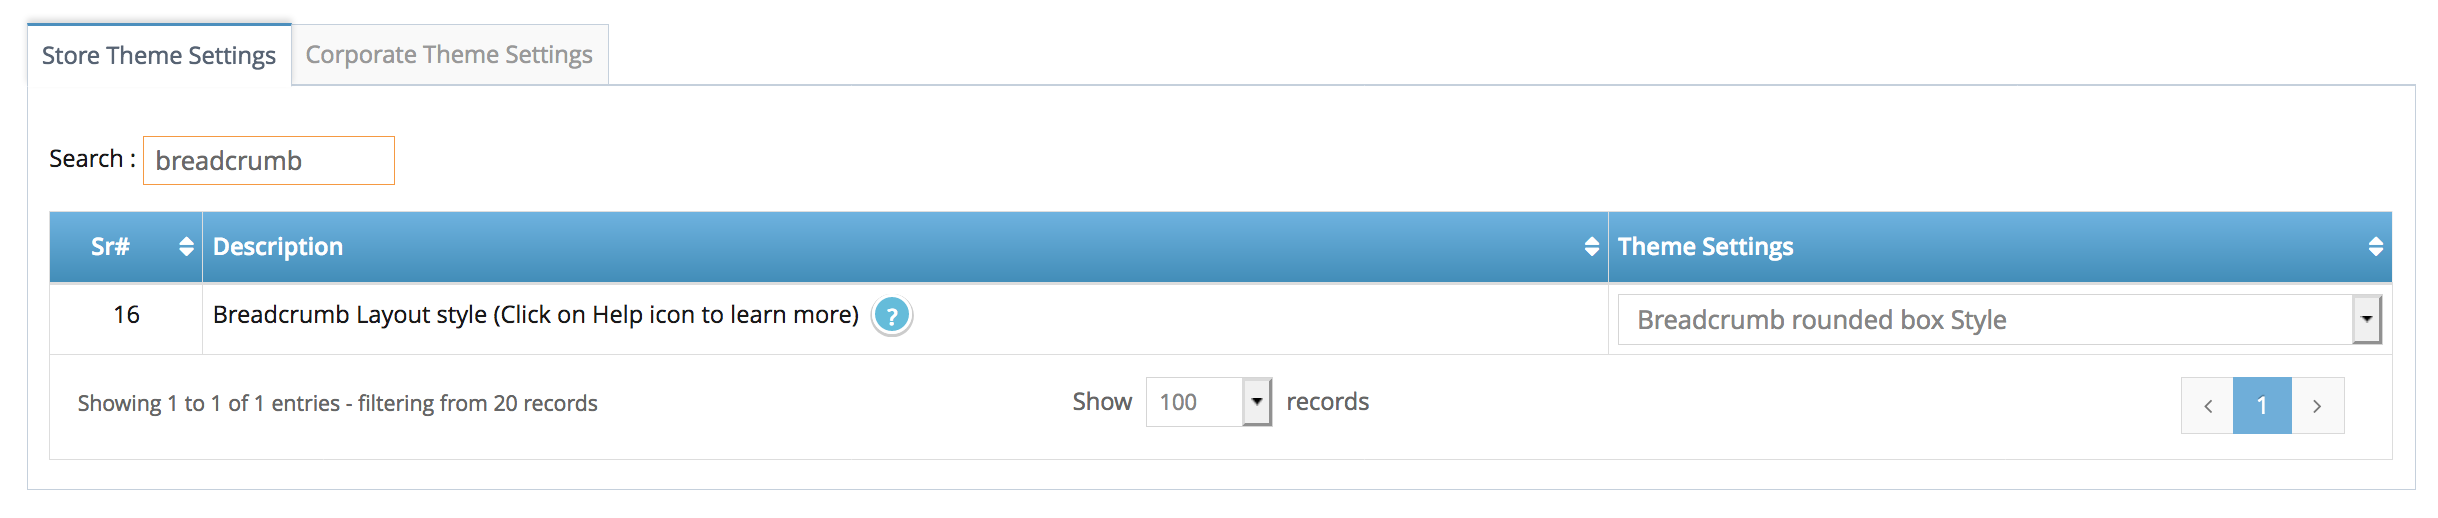 Step 3. Select the breadcrumb style